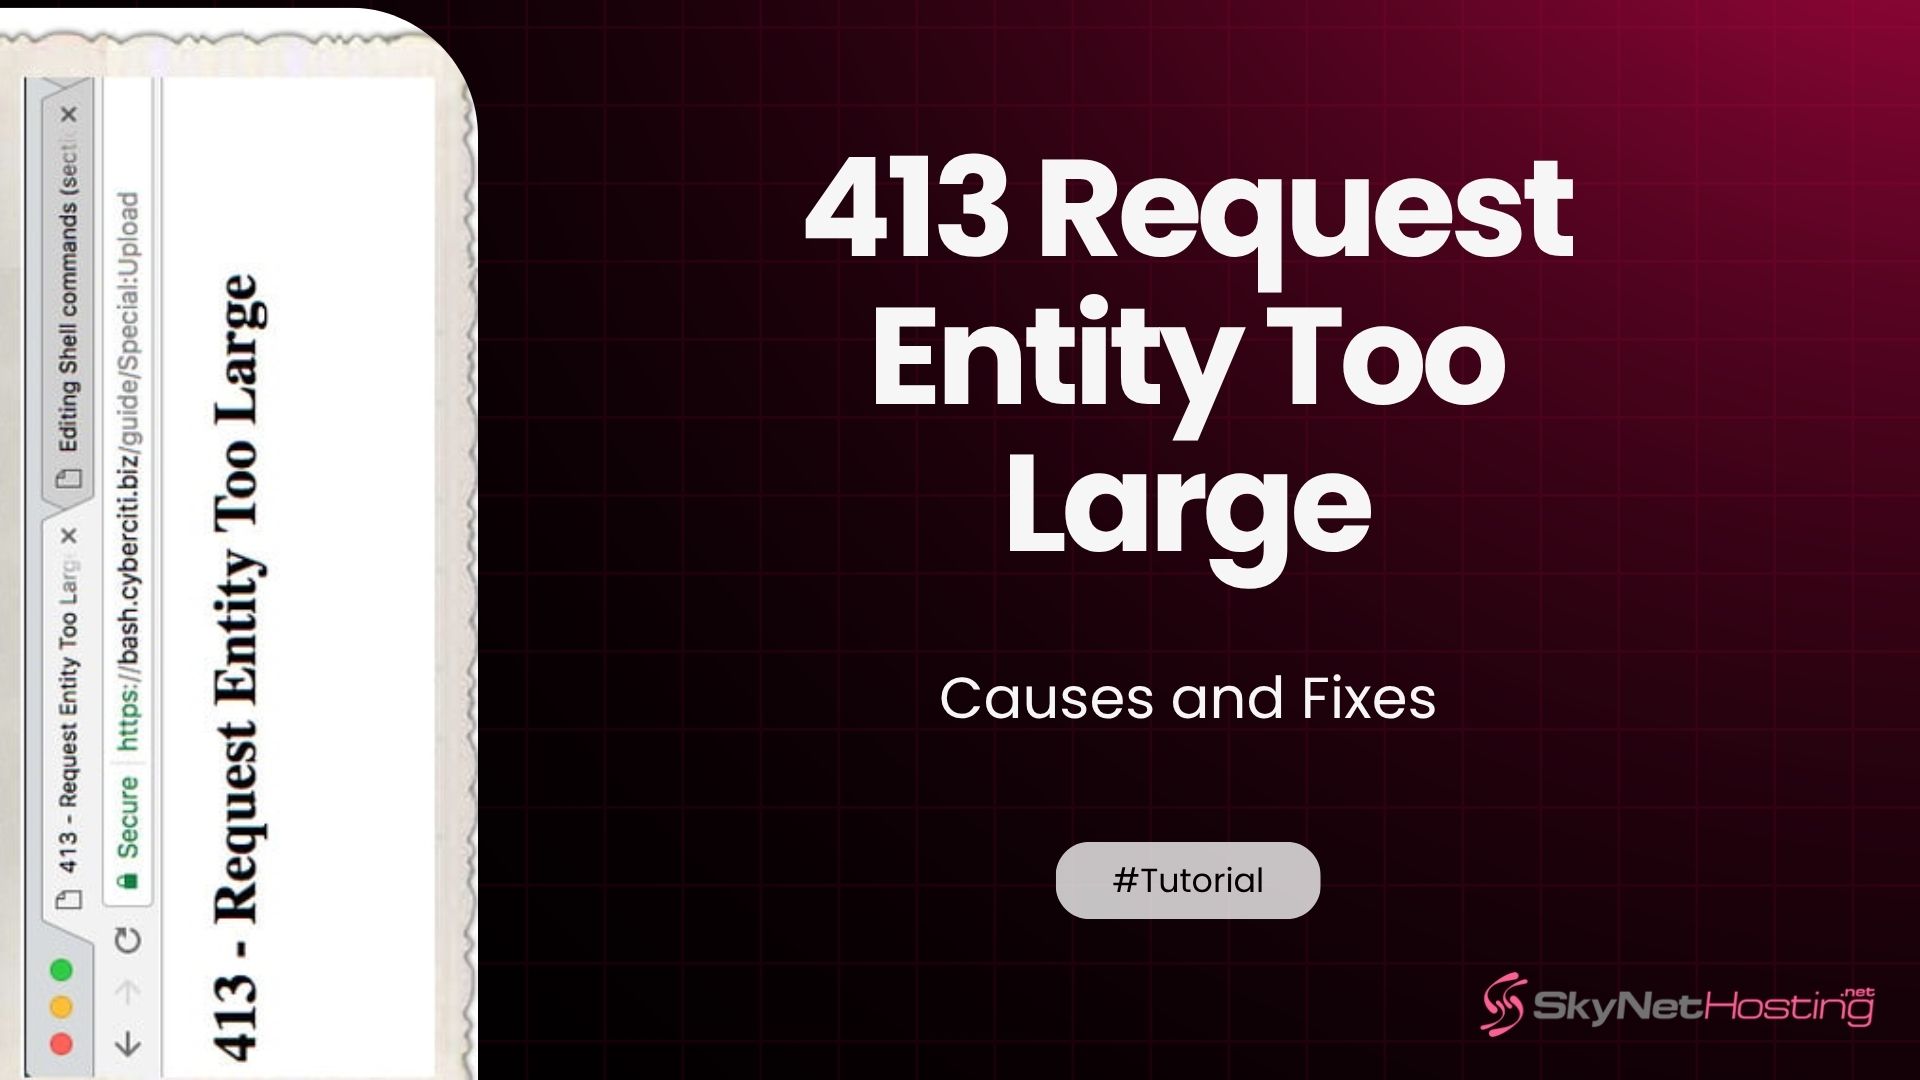
413 Request Entity Too Large — Causes and Fixes
TL;DR for 413 Request Entity Too Large
- This error means your upload exceeds the server’s allowed size, usually seen during large media or data uploads.
- Common causes involve low upload limits set in server configs like NGINX’s
client_max_body_sizeor PHP’supload_max_filesizeandpost_max_size. - Reverse proxies, web firewalls, or CDNs may also enforce size limits, which can trigger this error before reaching the web server.
- To fix, increase limits in NGINX, Apache, or PHP configs, and restart services; verify uploads after changes to confirm success.
- WordPress, cPanel, Plesk, and other control panels allow adjusting these limits via simple interface settings without editing config files.
- Prevent future errors by setting practical limits, educating users about max file sizes, and considering external storage for very large files.
You’ve carefully crafted a new blog post, designed a beautiful infographic, or maybe you’re trying to upload a high-resolution video. You click “upload,” wait a few seconds, and then…bam. You’re hit with a “413 Request Entity Too Large” error. It’s a frustrating roadblock, especially when you’re on a deadline.
After more than a decade of managing web servers, I’ve seen this error pop up more times than I can count. It almost always happens at the most inconvenient moment. But the good news is, it’s usually a straightforward fix. This error isn’t a sign that your website is broken; it’s just your server telling you that the file you’re trying to upload is bigger than it’s configured to accept.
This guide will walk you through exactly what this error means, why it happens, and how to fix it on various platforms like NGINX, Apache, and WordPress. We’ll cover server configuration files, control panel settings, and everything in between, so you can get back to what you were doing.
What Does “413 Request Entity Too Large” Mean?

The “413 Request Entity Too Large” message is an HTTP status code. In simple terms, your web browser (the client) tried to send a request to the server where your website is hosted, but the request was too big for the server to handle. The server then rejects the request and sends back the 413 error code.
Think of it like trying to mail a package that’s larger than the post office’s maximum size limit. They won’t accept it, and you’ll have to find another way. Similarly, your server has a built-in limit for the size of incoming data to protect itself from being overwhelmed.
This error most commonly occurs during file uploads. For example:
- Uploading large media files (videos, high-res images, audio files) to a WordPress media library.
- Submitting a form with large attachments.
- Making an API call with a large data payload.
When the size of your upload (the request payload) exceeds the server’s configured limit, the server terminates the connection and returns the 413 error.
Why Does the 413 Request Entity Too Large Error Occur?
This error is almost always due to a server-side configuration that limits the size of client requests. Let’s break down the most common culprits.
Uploading Files That Exceed Server Limits
The most obvious cause is simply that the file you’re trying to upload is larger than the server’s maximum allowed file size. Default limits on many web servers are surprisingly low—sometimes as little as 1MB or 2MB.
Incorrect client_max_body_size in NGINX
If your website runs on an NGINX server, the client_max_body_size directive is the one that controls this limit. If this value is too low or not set at all, NGINX will reject any file that exceeds its default of 1MB.
PHP upload_max_filesize and post_max_size Misconfigurations
For websites that use PHP, like WordPress, there are two important PHP directives that come into play:
upload_max_filesize: This sets the maximum size for an individual file that can be uploaded.post_max_size: This sets the maximum size of all POST data, which includes the file itself plus other form data.
If you try to upload a file larger than upload_max_filesize, or if the total request size is larger than post_max_size, you’ll get an error. It’s crucial that post_max_size is greater than or equal to upload_max_filesize.
Reverse Proxy or Firewall Restrictions
Sometimes, the issue isn’t with your primary web server. If you’re using a reverse proxy, a load balancer, or a web application firewall (WAF), it might have its own size limits that are stricter than your server’s.
CDN or Load Balancer Limitations
Content Delivery Networks (CDNs) like Cloudflare also impose upload size limits. For example, Cloudflare’s free plan has a 100MB limit for HTTP POST requests. If your request passes through a CDN before hitting your server, the CDN might be the one rejecting it.
How to Fix “413 Request Entity Too Large” in NGINX
If you have root access to your server, fixing the 413 request entity too large nginx error is often as simple as editing one line in your configuration file.
Locate and Edit the nginx.conf File
First, you’ll need to find your main NGINX configuration file, which is usually located at /etc/nginx/nginx.conf. You might also find server-specific settings in /etc/nginx/sites-available/. You’ll need to use a command-line text editor like nano or vim to edit the file.
sudo nano /etc/nginx/nginx.conf
Update or Add the client_max_body_size Directive
Inside the http block (or server or location block for more granular control), you need to set the client_max_body_size directive. This value determines the NGINX upload file size limit. I usually set this to a generous value like 100M for 100 megabytes, but you can adjust it to fit your needs.
http {
    #... other settings
    client_max_body_size 100M;
    #... other settings
}
If the directive already exists, simply increase its value. If it doesn’t, add it.
Restart NGINX to Apply Changes
After saving your changes, you must restart or reload the NGINX service for the new configuration to take effect.
sudo systemctl restart nginx
Or, for a more graceful reload:
sudo systemctl reload nginx
Verify File Upload Functionality
Now, go back to your website and try uploading the file again. The error should be gone.
How to Fix the Error in Apache
For Apache servers, the process is similar but involves a different directive.
Modify .htaccess or httpd.conf
You can adjust the limit in your main Apache configuration file (httpd.conf) if you have server access, or in a .htaccess file in your site’s root directory for more localized control.
Update the LimitRequestBody Directive
The directive you need to change in Apache is LimitRequestBody. This value is specified in bytes. To set a limit of 100MB, you would use the value 104857600 (100 * 1024 * 1024).
Add this line to your .htaccess or httpd.conf file:
LimitRequestBody 104857600
Restart Apache Server
If you edited httpd.conf, you will need to restart Apache for the changes to apply.
sudo systemctl restart apache2
Changes to .htaccess files typically take effect immediately without a server restart.
Test With File Upload After Configuration Changes
Try your upload again. The 413 request entity too large apache error should now be resolved.
How to Fix “413 Request Entity Too Large” in WordPress
For a 413 request entity too large wordpress error, you might need to adjust PHP settings in addition to your web server configuration.
Adjust File Upload Limits in php.ini
The php.ini file controls all PHP settings. You’ll likely need to increase php upload limit here. Find this file (common locations are /etc/php/7.4/fpm/php.ini or similar) and edit the following values:
upload_max_filesize = 100M
post_max_size = 100M
memory_limit = 256M
max_execution_time = 300
Remember, post_max_size should be equal to or greater than upload_max_filesize. The memory_limit should also be larger than post_max_size.
Modify wp-config.php Settings
If you can’t access php.ini, you can sometimes override these settings by adding the following lines to your wp-config.php file:
@ini_set('upload_max_size' , '100M');
@ini_set('post_max_size', '100M');
@ini_set('memory_limit', '256M');
@ini_set('max_execution_time', '300');
Place these lines just before the /* That's all, stop editing! Happy publishing. */ line.
Use Plugin-Based Upload Limit Management
If you’re not comfortable editing files, some WordPress plugins can help you manage upload limits, though their effectiveness can be limited by server-level restrictions.
How to Fix It in cPanel or WHM
If your hosting provider uses cPanel or WHM, you can often change these settings through a user-friendly interface.
- Navigate to MultiPHP INI Editor: Log in to cPanel and search for “MultiPHP INI Editor.”
- Increase
upload_max_filesizeandpost_max_size: Select your domain from the dropdown menu. Scroll down and find theupload_max_filesizeandpost_max_sizedirectives. Increase their values as needed. - Apply Changes: Click “Apply” to save the new configuration. cPanel will handle restarting the necessary services.
- Verify: Try your upload again to confirm the fix.
How to Fix It in Plesk or DirectAdmin
The process for other control panels like Plesk or DirectAdmin is very similar.
- Locate PHP Settings: Log in to your control panel and find the “PHP Settings” or “PHP Configuration” section for your domain.
- Adjust Upload Limits: Find the fields for
upload_max_filesize,post_max_size, andmemory_limit, and increase them. - Apply and Rebuild: Save your changes. The control panel should automatically rebuild the web server configuration for you.
How to Fix “413 Request Entity Too Large” for APIs or Reverse Proxies
When dealing with APIs or a reverse proxy setup, you may need to adjust the configuration of the proxy itself.
- API Gateways: If you’re using an API gateway, check its documentation for payload size limits and how to configure them.
- NGINX Reverse Proxy: In your NGINX reverse proxy configuration, ensure the
client_max_body_sizeis set appropriately in theserverblock that handles the proxying. - Compression or Chunked Uploads: For very large requests, consider implementing chunked transfer encoding, which breaks the large file into smaller pieces. This is a more advanced solution but can be very effective.
How to Prevent “413 Request Entity Too Large” in the Future
Fixing the error is great, but preventing it is even better.
- Set Realistic Limits: Configure your server with upload limits that are reasonable for your users’ needs. Don’t set them infinitely high, but make sure they accommodate typical use cases.
- Educate Users: If your site allows user uploads, provide clear guidelines on maximum file sizes.
- Use CDN or Object Storage: For applications that handle very large file uploads, consider offloading them to a dedicated service like Amazon S3 or a CDN that is designed for large file distribution.
- Regularly Review Configurations: Periodically check your server settings to ensure they still meet your needs, especially after server updates or migrations.
Final Thoughts on the 413 Error
Encountering a “413 Request Entity Too Large” error can be a temporary setback, but it’s a common and solvable issue. In most cases, the fix involves increasing a configuration directive on your web server or in your PHP settings. By understanding the cause—a request that exceeds the server’s size limit—you can quickly identify the right configuration file to edit.
Whether you’re running NGINX, Apache, or a WordPress site on a shared host, the steps outlined above should provide a clear path to a solution. And if you’ve tried these steps and are still stuck, don’t hesitate to reach out to your hosting provider’s support team. They manage these kinds of issues daily and can often provide a quick fix. For instance, at Skynethosting.net, our support team is available 24/7 to help resolve these types of server configuration challenges.


