
Dedicated Server Migration: Step-by-Step Guide to a Smooth Move
TL;DR
- Dedicated server migration transfers websites, apps, data to new hardware for better performance, security, scalability.
- Challenges include downtime, data loss, compatibility; solved by backups, staging, testing before live switch.
- Preparation: inventory apps/databases, lower DNS TTL, verify full backups of files, configs, emails.
- Process: rsync files, export/import databases, match software versions, test in staging environment.
- Minimize downtime with incremental transfers, monitoring; have rollback plan ready for issues.
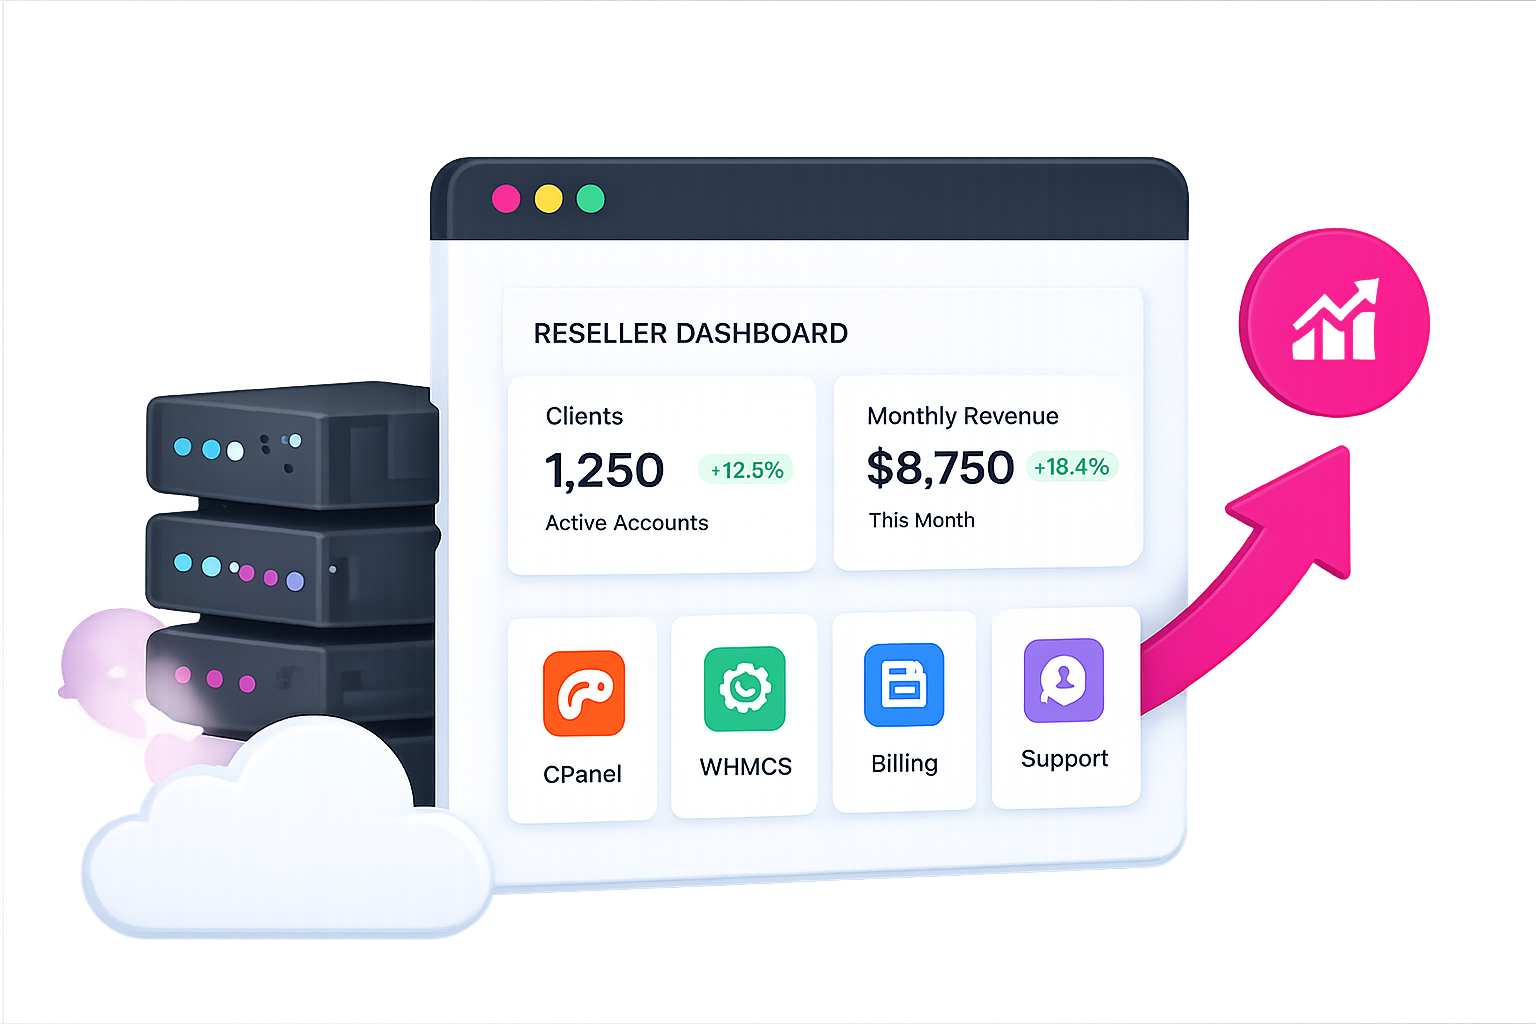
- Skynethosting.net offers managed migrations, NVMe infrastructure, zero-downtime support for smooth moves.
Moving to a dedicated server feels like packing up your entire office and relocating to a bigger building. You’re excited about the extra space and power, but terrified something important might get lost in the boxes.
I’ve guided dozens of migrations over the past decade. Some went flawlessly. Others turned into midnight firefighting sessions because someone skipped a crucial step.
This guide walks you through the entire dedicated server migration process, from planning to post-migration validation. By the end, you’ll know exactly how to move your website, applications, and data without breaking a sweat (or your site).
What Is Dedicated Server Migration?
Dedicated server migration means moving your website, applications, databases, and configurations from one server to another dedicated server. You’re transferring everything that makes your site work to a new home with better resources.
Think of it like moving houses. You pack everything carefully, transport it safely, and unpack it in the right rooms at the new place.
Understanding the difference between shared, VPS, and dedicated migration
Each hosting type requires a different migration approach.
Shared hosting migration is the simplest. You’re usually just moving files and a database. The hosting provider handles most server-level configurations.
VPS migration gets more complex. You have your own virtual environment with custom settings, installed software, and specific configurations that need to transfer.
Dedicated server migration is the most involved. You’re moving an entire physical server’s worth of data, applications, custom software, security rules, and network configurations. Every setting matters because you have complete control.
The stakes are higher with dedicated servers because businesses using them typically handle mission-critical workloads, high traffic volumes, or sensitive data.
Why migrating servers is critical for performance and reliability
Your current server might be struggling. Maybe it’s running outdated hardware, located too far from your users, or simply can’t handle your growing traffic.
A proper migration to a modern dedicated server can dramatically improve your site’s speed, uptime, and security. I’ve seen page load times drop from 5 seconds to under 2 seconds just by moving to better infrastructure.
Dedicated servers provide exclusive access to all resources, ensuring your site runs at peak performance without competing with other users.
Why Do Businesses Migrate to Dedicated Servers?
Scaling resources for high-traffic websites
Shared hosting and even VPS plans have limits. When your traffic spikes during a product launch or sale, those limits become painfully obvious.
Dedicated servers give you the full power of enterprise-grade CPUs, massive RAM allocations, and fast NVMe storage. You’re not sharing those resources with anyone.
If you’re running an eCommerce store that crashes during Black Friday, you’re losing real money every minute. Migrating to a dedicated server before peak season can save your revenue.
Improving server security and control
On shared hosting, you’re vulnerable to your neighbors. If another site on the same server gets hacked, attackers might find a way into your space too.
Dedicated servers isolate you completely. You control the firewall rules, security patches, access permissions, and every security layer. This isolation is critical for businesses handling payment data or personal information.
You can implement custom security measures that aren’t possible on shared environments.
Optimizing application performance
Some applications are resource-hungry. Video streaming platforms, SaaS tools, and game servers need consistent, high-level performance.
When your application runs on dedicated hardware, it responds faster, handles more concurrent users, and doesn’t slow down because someone else is running a heavy script on the same machine.
Performance benchmarks show that dedicated servers with NVMe SSDs deliver read/write speeds exceeding 3,000 MB/s, essential for data-intensive applications.
What Are the Common Challenges in Server Migration?

Downtime and service disruption
This is the biggest fear. Every minute your site is offline, you’re losing visitors, sales, and search engine trust.
Even planned downtime frustrates users. Unexpected downtime during a botched migration can damage your reputation.
The goal is always to minimize or eliminate downtime entirely. This requires careful planning and often staging the new server before switching traffic over.
Data loss risks
Imagine transferring terabytes of customer data and discovering halfway through that the transfer corrupted a critical database. Now you’re scrambling to restore from backups.
Data loss happens when backups aren’t verified, transfers get interrupted, or someone forgets to copy a specific directory. I’ve seen businesses lose months of uploaded images because they assumed everything was in the database.
Always verify your backups before starting. Always.
Compatibility and configuration issues
Your old server runs PHP 7.4 and MySQL 5.7. Your new server has PHP 8.2 and MySQL 8.0. Your legacy application throws errors everywhere because the code isn’t compatible.
This happens more often than you’d think. Software versions, server configurations, and even file permissions need to match or your applications break.
Testing on the new server before going live catches these issues early.
How Can You Prepare for a Dedicated Server Migration?
Backup strategies and verification
Never migrate without current backups. Never.
Create a complete backup of everything: files, databases, configurations, email, SSL certificates. Store these backups in multiple locations—your current server, local storage, and cloud storage.
Here’s the critical part: verify your backups work. Don’t just assume they’re good. Actually restore them on a test environment and confirm everything loads correctly.
Full backups and incremental backups serve different purposes—full backups capture everything at once, while incremental backups save only what changed since the last backup, reducing time and storage needs.
Backup checklist:
- Website files and directories
- All databases (MySQL, PostgreSQL, etc.)
- Email accounts and messages
- SSL certificates and private keys
- Server configuration files
- Custom scripts and cron jobs
Inventory of applications and databases
Make a detailed list of everything running on your current server. Document every application, its version, dependencies, and configurations.
Which PHP version does your WordPress site need? What MySQL settings does your application require? Which custom modules are installed?
Create a spreadsheet listing:
- Application names and versions
- Database names and sizes
- Required server software and versions
- Custom configurations
- Third-party integrations and API keys
This inventory becomes your migration roadmap.
DNS and network planning
DNS propagation takes time. Understanding how it works prevents surprises.
Your domain’s DNS records tell the internet where your server lives. When you change these records to point to your new server, the change doesn’t happen instantly worldwide.
Lower your DNS TTL (Time To Live) to 300 seconds at least 24-48 hours before migration. This tells DNS servers to refresh their cache more frequently, speeding up propagation when you make the actual switch.
Document your current DNS records—A records, MX records, CNAME records, TXT records. You’ll recreate these on the new server.
What Are the Step-by-Step Migration Processes?
Data and application transfer
Start by setting up your new dedicated server with the same software stack as your current server. Match the PHP version, database version, and any other critical software.
Use secure transfer methods like rsync over SSH or SFTP to copy files. These methods preserve file permissions and handle interruptions gracefully.
For large file transfers, rsync is your best friend. It can resume interrupted transfers and only copies changed files if you run it multiple times.
Transfer command example:
rsync -avz --progress /source/directory/ user@newserver:/destination/directory/
This copies files while showing progress and maintaining permissions.
Database migration and testing
Databases require special attention because they’re constantly changing. A backup from Monday might miss orders placed on Tuesday.
Migration steps:
- Put your site in maintenance mode
- Export the database from the old server
- Import it to the new server
- Test database connectivity and queries
- Compare record counts between old and new databases
For WordPress, WooCommerce, or other CMS platforms, you may also need to update the site URL in the database to match the new server.
Test thoroughly. Log into your admin panel, browse the site, test checkout flows, run reports—whatever your users do, test it.
Final server switch and DNS update
You’ve tested everything on the new server. It’s time to make the switch.
Update your DNS records to point to the new server’s IP address. This is where that lowered TTL helps—the change propagates much faster.
Keep the old server running for at least 24-48 hours after the switch. Some users might still be resolving to the old IP due to DNS caching.
Monitor both servers during this window. Watch for traffic shifting from old to new.
Understanding DNS propagation helps you set realistic expectations—while most changes take 4-8 hours, some ISPs may cache records for up to 48 hours.
How Can You Minimize Downtime During Migration?

Staging environments and pre-testing
The secret to zero-downtime migrations is staging. Set up the new server completely, transfer all data, and test everything while your old server still serves live traffic.
Users keep visiting your current site while you perfect the new environment. When everything’s ready, you flip the switch.
This approach reduces actual downtime to just the few minutes it takes for DNS to start routing users to the new server.
Incremental migration techniques
Instead of moving everything at once, migrate in stages.
Move static files first. Then migrate databases. Update configurations last. At each stage, test and verify before proceeding.
Some businesses migrate specific services one at a time. Email first, then the website, then the application backend. This spreads risk across multiple smaller changes rather than one massive leap.
Monitoring and rollback strategies
Have a rollback plan ready. If something breaks on the new server, you need to quickly point DNS back to the old server.
Monitor everything during and after migration:
- Server response times
- Error logs
- Traffic patterns
- Database performance
- Application functionality
Set up monitoring alerts before migration starts. Tools like UptimeRobot or Pingdom notify you immediately if the site goes down.
Should You Use a Managed Migration Service or DIY?
Pros and cons of self-migration
DIY migration pros:
- Complete control over timing and process
- No additional cost beyond your time
- Opportunity to learn your infrastructure deeply
DIY migration cons:
- High risk if you lack experience
- Time-consuming, especially first-time
- No expert support when problems arise
- Stress and potential for costly mistakes
Self-migration works if you have technical expertise, time to plan thoroughly, and a non-critical site where some downtime is acceptable.
Benefits of managed migration
Managed migration means your hosting provider handles the entire process. Their team of experts moves everything for you.
Benefits:
- Expertise from teams who’ve done hundreds of migrations
- Reduced downtime or zero-downtime transfers
- Rollback support if issues occur
- Less stress and time investment
- Often included free with hosting plans
For business-critical sites, managed migration is worth every penny. The peace of mind alone is valuable.
Choosing the right service provider
Look for providers offering:
- Free migration included with hosting plans
- Experience with your specific platform (WordPress, Magento, custom apps)
- 24/7 support during the migration window
- Clear communication and timeline expectations
- Backup guarantees and rollback plans
Ask how many migrations they’ve completed and what their success rate looks like.
How SkyNetHosting.net Supports Dedicated Server Migration
Fully managed migration support
At SkyNetHosting.net, we include comprehensive migration support with our dedicated server plans. Our team handles the technical heavy lifting so you can focus on your business.
We’ve successfully migrated hundreds of websites, applications, and databases across our global infrastructure. Our process is refined through years of experience.
Our dedicated servers are designed to handle business-critical workloads with reliable performance and security.
Zero-downtime transfer and expert guidance
We use staging environments and incremental techniques to ensure your site remains accessible during migration. Most clients experience no downtime at all.
Our migration team communicates clearly throughout the process, explaining each step and providing realistic timelines. You’re never left wondering what’s happening.
We handle:
- Complete backup of your current environment
- DNS planning and TTL optimization
- File and database transfers
- Configuration and testing
- Final cutover and monitoring
- Post-migration verification
Optimized infrastructure for business-critical workloads
Our data centers feature NVMe storage, DDR5 RAM, and enterprise-grade processors—infrastructure designed for demanding applications.
Performance matters, especially after migration when you expect improvements. Our servers deliver consistent, high-level performance.
With locations worldwide, we help you choose the optimal data center to minimize latency for your users.
How to Verify Your Server After Migration?
Testing website and application functionality
After migration completes, methodically test every feature:
- Browse every major page
- Submit forms and test email delivery
- Complete checkout processes
- Test user login and account functions
- Verify file uploads work
- Check search functionality
- Test any custom features or integrations
Have multiple team members test from different locations and devices. What works on your desktop might fail on mobile.
Security and performance validation
Confirm your security measures transferred correctly:
- SSL certificates are active
- Firewall rules are configured
- Login protections are enabled
- Backups are running on schedule
Run performance tests using tools like GTmetrix or Google PageSpeed Insights. Your new server should outperform the old one.
Check server response time, page load speed, and database query performance.
Monitoring logs and backups
Review server logs daily for the first week after migration. Look for:
- Error messages
- Failed login attempts
- Unusual traffic patterns
- Resource usage spikes
Verify your backup system is working. Run a test backup and restore it to confirm everything functions correctly.
Regular backups are your safety net—they should run automatically and be verified regularly to ensure quick recovery if needed.
What Are the Long-Term Best Practices After Migration?
Regular backups and monitoring
Don’t relax after migration succeeds. Maintain rigorous backup schedules.
Set up automated daily backups with retention policies. Keep at least 30 days of backups, stored both locally and offsite.
Monitor server health continuously. Track CPU usage, memory consumption, disk space, and network traffic. Set alerts for unusual patterns.
Performance tuning and updates
Your new server runs great now, but software needs regular updates. Keep your operating system, applications, and security patches current.
Review performance metrics monthly. Are page speeds consistent? Has database query time increased? Address slowdowns before they become problems.
Optimize as your traffic grows. What works for 1,000 daily visitors might struggle with 10,000.
Scalability planning for future growth
One major benefit of dedicated servers is scalability. Plan ahead for growth.
Monitor resource usage trends. If CPU consistently runs above 70%, start planning an upgrade.
Consider your growth timeline. Will you need more storage in six months? Additional RAM by year-end? Plan these upgrades during low-traffic periods.
SkyNetHosting.net makes scaling easy with flexible dedicated server configurations that grow with your business needs.
Conclusion
Dedicated server migration is complex but manageable with the right strategy
Moving to a dedicated server doesn’t have to be scary. With proper planning, thorough backups, and systematic testing, you can migrate smoothly.
The key is preparation. Document everything, test thoroughly, and don’t rush the process.
Minimizing downtime and ensuring security are critical
Your users expect your site to be available. Using staging environments, incremental migration techniques, and proper DNS planning keeps disruption minimal.
Security cannot be an afterthought. Verify that firewall rules, SSL certificates, and access controls transfer correctly.
Choosing SkyNetHosting.net ensures expert migration support, reliable infrastructure, and scalable hosting solutions
You don’t have to navigate migration alone. Our team has the experience and infrastructure to make your move seamless.
With fully managed dedicated servers, automatic backups, and 24/7 expert support, we handle the technical complexity while you focus on growing your business.
Ready to upgrade to a dedicated server with zero-stress migration? Contact SkyNetHosting.net today and let’s plan your smooth move to better performance, security, and control.
FAQs
Why migrate to a dedicated server?
Current servers struggle with traffic, outdated hardware, or neighbor interference; dedicated provides exclusive CPU/RAM/NVMe for faster sites, better security, full control handling high loads like eCommerce without crashes.
What are main migration challenges?
Downtime loses revenue/reputation, data corruption from unverified backups, app incompatibility between software versions. DNS propagation delays access; solved by staging tests, multiple backups, TTL reduction pre-switch.
How to prepare backups and inventory?
Backup files/databases/emails/SSL/crons to multiple locations, verify by restoring on test server. List all apps/versions/dependencies/databases for matching new environment; document DNS records, configs precisely.
What steps for data transfer and testing?
Match old software stack on new server, rsync files via SSH, export/import databases, put site in maintenance mode. Test functionality, performance, security thoroughly before DNS update; compare record counts.
How to achieve zero-downtime migration?
Use staging server for full pre-testing while old serves traffic; incremental transfers, load balancing. Lower TTL 48hrs prior, monitor propagation, keep old server running 48hrs post-switch with rollback ready.
What post-migration verification and support?
Test pages/forms/checkouts/mobile, check logs/errors/backups; monitor metrics week one. Skynethosting.net provides managed service, expert guidance, NVMe hardware for seamless, reliable business continuity.