
10 Steps to Secure Your WordPress Site on Shared Hosting
If you run a website on shared hosting, you might be worried about hackers. I get it. Over the last 10 years, I have helped countless beginners and small business owners clean up hacked websites. It is a stressful experience that nobody wants to go through.
Many people think you need expensive, dedicated servers to stay safe. That simply is not true. You can absolutely protect your website without upgrading your hosting plan or spending a fortune on technical help.
This guide will show you exactly how to secure a WordPress site on shared hosting: 10 steps that actually work. I will walk you through a simple WordPress security checklist. You will learn how to block common attacks, fix vulnerabilities, and keep your valuable data safe.
Grab a cup of coffee. We are going to lock down your website together.
Why WordPress Security Matters on Shared Hosting
Shared hosting is incredibly popular because it is affordable and easy to use. However, sharing server space with other websites requires you to be proactive about your security.
Risks of shared environments
When you use shared hosting, your website sits on the same server as hundreds of other sites. If one of those websites gets hacked, the attacker might try to use that access to target your site. This is called cross-site contamination. A secure shared hosting provider will isolate accounts, but you still need to protect your own front door.
Common attack vectors
Hackers rarely target you personally. They use automated bots that scan the internet for weak websites. These bots look for outdated software, weak passwords, and unprotected login pages. If you leave these doors unlocked, the bots will walk right in.
Impact of security breaches
A hacked website can ruin your business. Attackers can steal your customer data, deface your homepage, or redirect your traffic to scam websites. Google often blacklists infected sites. This means you lose your search engine rankings and your visitors see a giant red warning screen. If you want to learn more about the costs of a breach, check out our guide on why you must protect WordPress from hackers.
What Are the Most Common WordPress Security Threats?
Before we fix the problems, you need to understand what we are fighting against. Here are the most common ways bad actors break into WordPress sites.
Brute force login attacks
This is the oldest trick in the book. A bot repeatedly tries to guess your username and password. They use massive lists of common passwords to force their way into your dashboard. If you use a password like “admin123”, these brute force attacks will succeed in seconds.
Malware and injected code
Sometimes, hackers find a vulnerability and inject malicious code into your website files. This is known as WordPress malware. This code can secretly send spam emails, steal credit card numbers, or display unwanted ads. You might not even know your site is infected until your hosting provider shuts it down.
Outdated plugins and themes
Developers release updates to fix security holes. If you ignore these updates, you leave those holes wide open. Outdated plugins are the number one reason WordPress websites get hacked. Keeping things fresh is a vital part of shared hosting security for WordPress.
Step 1: Keep WordPress Core, Themes, and Plugins Updated
The easiest way to secure your WordPress site is simply keeping it updated. It takes just a few clicks, but it stops the majority of attacks.
Why updates are critical
Every time a developer finds a security flaw in a theme or plugin, they patch it. They then release a new version. Hackers read the release notes to find out exactly what the vulnerability was. They then target websites that have not installed the update yet.
Enabling automatic updates
You do not have to check for updates manually every single day. WordPress allows you to turn on automatic updates for your core software, themes, and plugins. Go to your WordPress dashboard, navigate to the Plugins page, and click “Enable Auto-updates” next to each item. For more detailed instructions, read our post on managing WordPress updates safely.
Step 2: Use Strong Passwords and Two-Factor Authentication
Your login credentials are the keys to your digital kingdom. You need to make them impossible to guess.
Password best practices
Never use “admin” as your username. Do not use your pet’s name or your birth year as your password. Use a long, random string of letters, numbers, and symbols. I highly recommend using a password manager to generate and store these complex passwords.
Setting up 2FA
Two factor authentication (2FA) requires a second piece of information to log in. Usually, this is a code sent to your mobile phone. Even if a hacker guesses your password, they cannot access your dashboard without your phone. There are plenty of free plugins that add two factor authentication to your login page. You can read our secure WordPress beginner guide for plugin recommendations.
Step 3: Install a Reliable WordPress Security Plugin
You do not have to be a security expert to protect your site. A good security plugin will do the heavy lifting for you.
Firewall and malware scanning
A firewall acts as a shield between your website and the rest of the internet. It blocks malicious traffic before it ever reaches your server. You also need a plugin that performs regular malware scanning. This checks your files daily to ensure no malicious code has been injected.
Login protection features
Top security plugins also include powerful login protection. They can enforce strong passwords for all users and automatically block IP addresses that show suspicious behavior. Adding one of these essential security plugins is a quick win for your website.
Step 4: Enable SSL and HTTPS
An SSL certificate encrypts the connection between your website and your visitors. It is an absolute requirement for modern websites.
Importance of encryption
Without SSL, any data sent to your website is transmitted in plain text. This means hackers can easily intercept passwords, email addresses, and credit card numbers. When you use an SSL certificate HTTPS connection, that data is scrambled and impossible to read.
How SSL protects user data
Most shared hosting providers now offer free SSL certificates. You can usually install it with one click inside your control panel. Once it is active, you will see a small padlock icon next to your URL in the browser. This builds trust with your visitors and protects their sensitive information. Find out how to activate your free SSL here.
Step 5: Limit Login Attempts and Change Login URL
We talked about brute force attacks earlier. Now we are going to stop them in their tracks.
Preventing brute force attacks
By default, WordPress allows users to guess passwords as many times as they want. This is a massive security flaw. You should use a plugin to limit login attempts. If someone enters the wrong password three times in a row, they get locked out for a few hours.
Reducing attack surface
Every WordPress site uses the exact same login URL (yourwebsite.com/wp-admin). Hackers know this. You can use a free plugin to change your login URL to something secret, like yourwebsite.com/my-secret-door. This simple trick drastically cuts down the number of automated attacks hitting your site.
Step 6: Set Proper File Permissions
File permissions tell your server who is allowed to read, write, or execute files on your website. Incorrect permissions can give hackers full control over your site.
Securing files and directories
As a general rule, your folders should be set to 755. Your individual files should be set to 644. Your wp-config.php file, which holds your database passwords, should be set to 440 or 400. You can change file permissions using your hosting control panel or an FTP client.
Preventing unauthorized access
Strict permissions stop unauthorized users from editing your core files. If a hacker somehow bypasses your other defenses, proper file permissions will stop them from injecting malicious code. For a step-by-step walkthrough, see our guide on configuring WordPress file permissions.
Step 7: Regular Backups Are Essential
Even with the best security in the world, things can go wrong. A reliable backup system is your ultimate safety net.
Backup frequency
If you publish new content every day, you need daily backups. If you run a simple portfolio site, weekly backups might be enough. Always store your backups off-site. Do not save them on your shared hosting server. Use cloud storage like Google Drive or Dropbox instead.
Restoration strategies
A backup is completely useless if you do not know how to restore it. Practice restoring your website on a staging environment so you know exactly what to do during an emergency. You can learn more about setting up an automated backup system on our blog.
Step 8: Disable Unused Plugins and Themes
Every piece of software you install adds potential vulnerability to your site. Less is more when it comes to WordPress security.
Reducing vulnerabilities
If you are not actively using a theme or a plugin, delete it. Do not just deactivate it. Deactivated plugins still sit on your server, and hackers can still exploit them. Keeping a lean website drastically reduces your risk.
Cleaning up your installation
Take 10 minutes every month to review your installed plugins. Ask yourself if you really need them. A clean installation is much easier to secure, faster to load, and simpler to manage. Regular cleanups are a key part of any good WordPress security checklist.
Step 9: Monitor Website Activity and Logs
You cannot protect your site if you do not know what is happening behind the scenes. Activity monitoring gives you total visibility.
Detecting suspicious behavior
Audit logs record everything that happens on your site. They show you when a user logs in, when a plugin is updated, and when a post is deleted. If you see an unknown user installing a new plugin at 3 AM, you know you have a security problem.
Using monitoring tools
Many security plugins include activity logs for free. You can set them up to send you an email alert if an administrator logs in from a new device. This early warning system can help you stop an attack before any real damage is done. Read more about tracking suspicious activity here.
Step 10: Choose a Secure Hosting Provider
Your web host is the foundation of your website. If your foundation is weak, all the security plugins in the world will not save you.
Server-level security features
A good shared hosting provider actively monitors their servers for malware. They use strong firewalls to block bad traffic and isolate hosting accounts from one another. They also provide automatic backups and free SSL certificates as standard features.
Importance of uptime and support
When an emergency happens, you need a support team that responds instantly. A secure host will help you navigate malware infections and restore your backups quickly. It makes all the difference when your business is on the line.
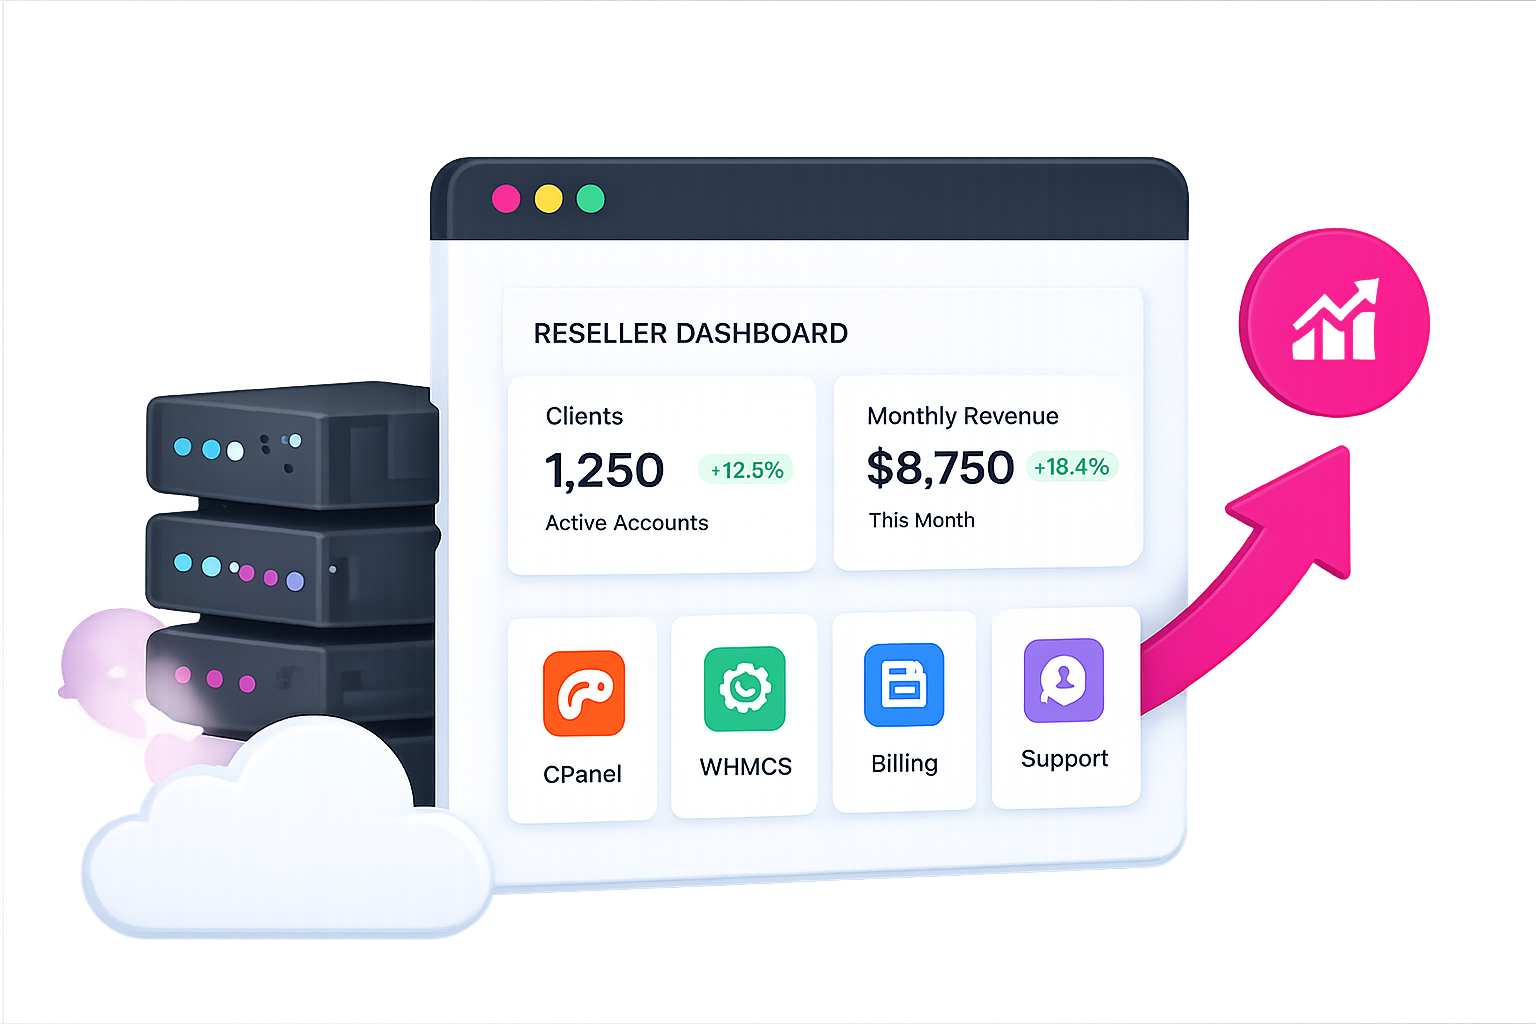
How Does SkyNetHosting.Net Inc. Help Secure WordPress Sites?
If you are looking for a secure foundation, we have you covered. For over 20 years, SkyNetHosting.net has been providing powerful, secure hosting environments for websites of all sizes.
Secure shared hosting environment
Our servers utilize CloudLinux to keep your shared hosting account completely isolated from other users. Even if another website on your server is compromised, your files remain completely safe.
Built-in protections and monitoring
We actively monitor our global network 24/7. We use advanced server-level caching and security protocols to block brute force attacks and malicious traffic. We also provide daily and weekly backups, ensuring your data is always protected.
Reliable infrastructure for WordPress users
With cutting-edge NVMe SSD storage and LiteSpeed Web Servers, our hosting is blazing fast and incredibly secure. You get premium features, spam-free cloud email, and 24/7 expert support. Check out our WordPress hosting security features to see how we keep our clients safe.
Protect Your Website Today
You do not need to be a developer to keep your website safe. Website security is simply about building good habits.
Securing your site takes a bit of effort upfront, but it pays off massively in peace of mind. By keeping your software updated, using strong passwords, and installing a firewall, you block the vast majority of automated attacks.
Follow these 10 steps today. Clean out your old plugins, turn on two-factor authentication, and make sure your backups are running. SkyNetHosting.net provides a secure and reliable environment so you can host your WordPress websites confidently. Stay safe, and happy blogging!


