“Your IP Has Been Temporarily Blocked” — What It Means and How to Fix It
TL;DR for Your IP Has Been Temporarily Blocked
- This message means the server’s firewall temporarily blocked your IP, often for security reasons like failed logins or suspicious activity.
- Common triggers include multiple wrong passwords, tripping firewall rules, sending too many requests, or using public Wi-Fi with a flagged IP.
- To confirm a block, check for specific error messages, use ping/traceroute, client portal tools, or ask your hosting support to verify your IP status.
- Fixes involve logging in from a new network, unblocking or whitelisting your IP in the firewall panel, clearing DNS/browser cache, or contacting support.
- cPanel/WHM users can remove or whitelist blocked IPs through firewall tools like CSF, usually from a different connection if currently blocked.
- Prevent repeating blocks by avoiding failed logins, using strong passwords, securing Wi-Fi, and considering a VPN or dedicated IP for admin access.
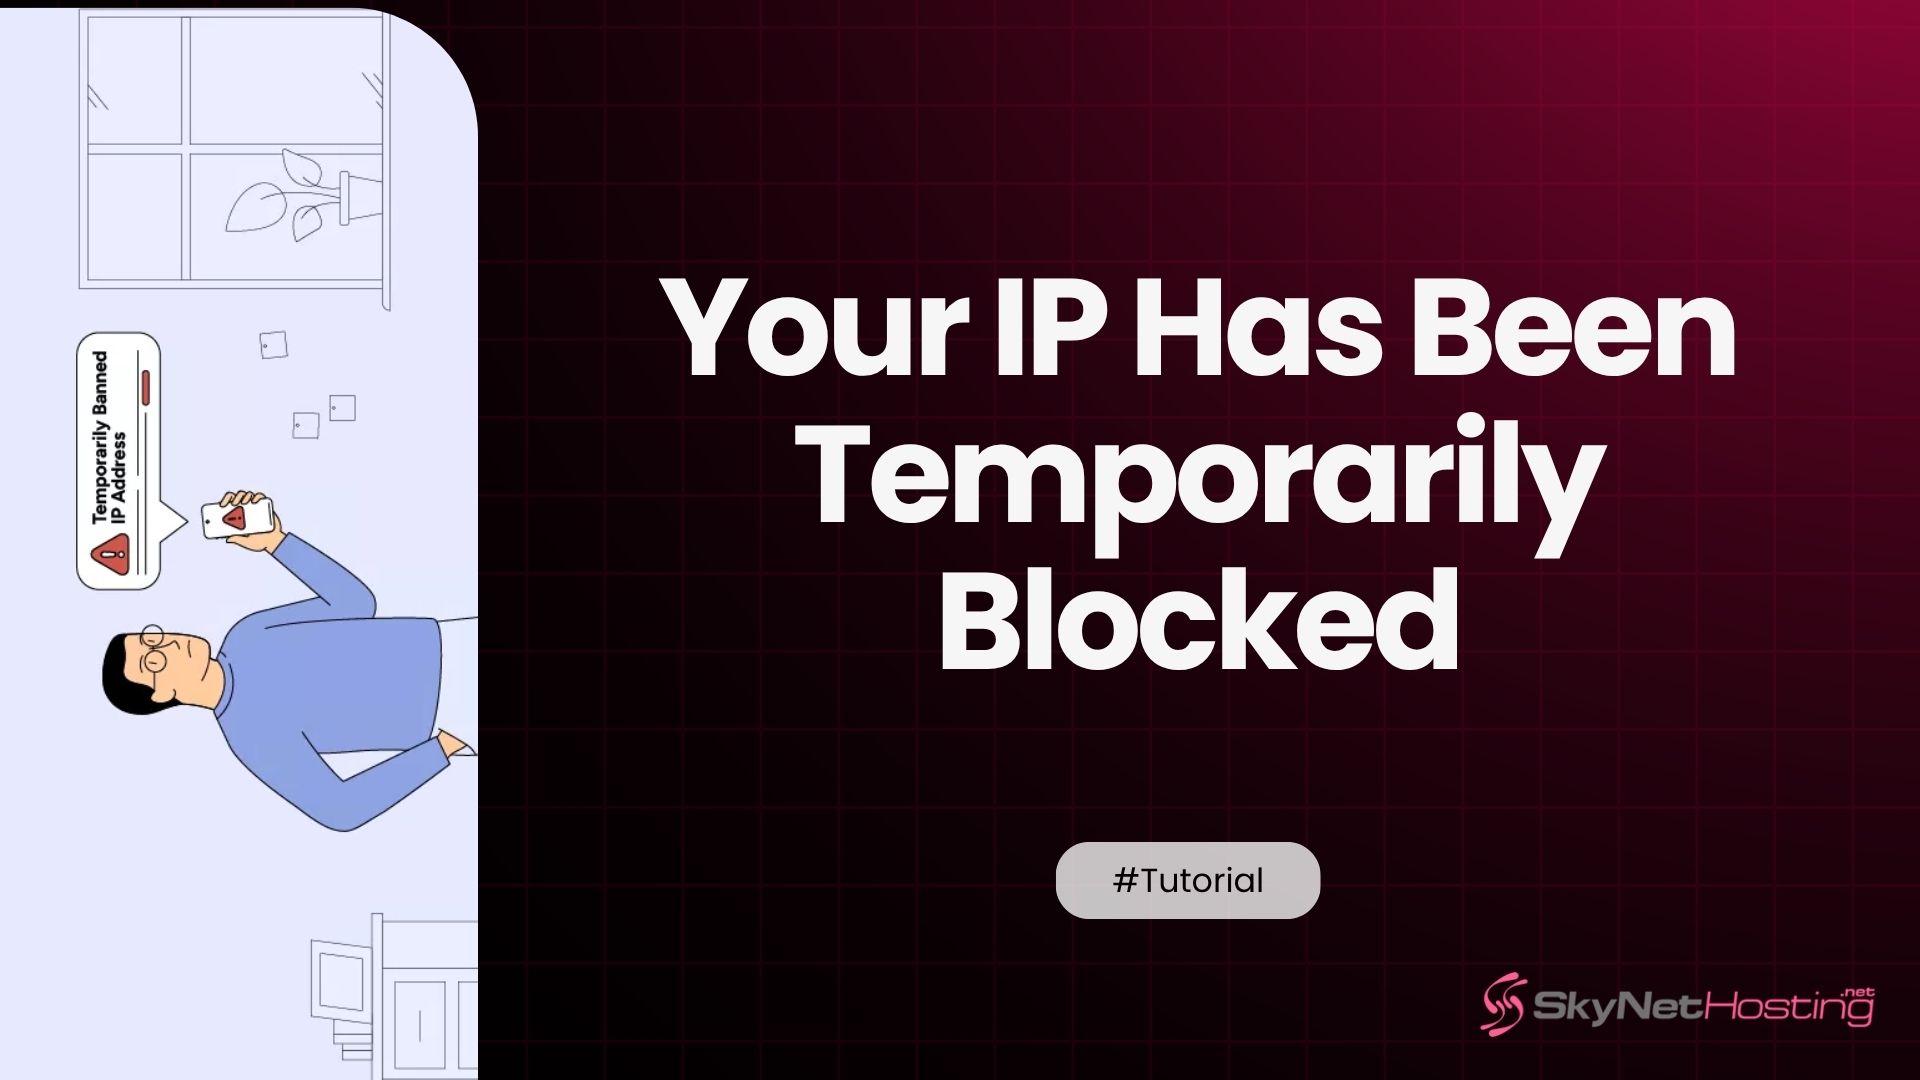
You’re trying to log into your website’s admin panel or access your cPanel, and suddenly you’re met with a jarring message: “Your IP has been temporarily blocked.” It’s a frustrating experience that can bring your workflow to a grinding halt. If you’ve ever found yourself in this situation, you know how confusing it can be. Is your website broken? Have you been hacked?
As someone who has managed web servers for over a decade, I’ve seen this happen countless times. This error isn’t a sign that your site is down; it’s a security feature kicking in to protect it. Your server’s firewall has identified activity from your IP address that it considers suspicious and has put up a temporary wall to prevent potential harm.
Understanding why this happens is the first step to resolving it quickly and preventing it from happening again. This guide will walk you through exactly what an IP block means, the common triggers, and step-by-step instructions on how to get your access back. By the end, you’ll be able to handle this issue like a pro and keep your website secure.
What Does “Your IP Has Been Temporarily Blocked” Mean?
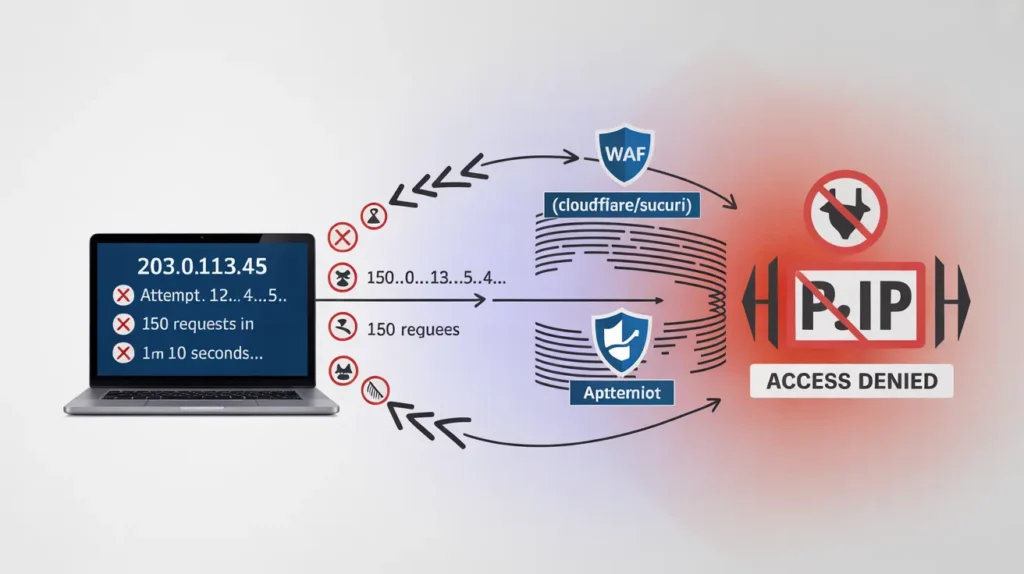
When you see the message “your IP has been temporarily blocked,” it means the server hosting the website or service you’re trying to access has deliberately denied your connection. This block is implemented at the server or firewall level, acting as a digital bouncer that has decided your IP address isn’t allowed in, at least for a while.
An IP address is a unique identifier for your device on the internet. Servers use this address to know where to send data. When a firewall blocks your IP, it’s essentially telling the server, “Ignore any requests from this specific address.”
It’s important to distinguish between a temporary and a permanent IP ban. A temporary block, which is what we’re discussing, is usually short-lived. It’s a protective measure that often expires after a set period, like 15 minutes or an hour. A permanent ban is more serious and typically results from repeated or severe violations of a server’s rules.
Hosting providers and security systems implement these blocks to safeguard servers from malicious activities. By automatically blocking suspicious IPs, they can prevent brute-force attacks, stop spam, and mitigate other threats before they cause real damage.
What Causes Your IP to Be Temporarily Blocked?
Your IP address can be blocked for several reasons, and most of them are related to automated security rules designed to protect the server. Here are the most common culprits I’ve encountered:
- Multiple Failed Login Attempts: This is by far the most frequent cause. If you repeatedly try to log into cPanel, WHM, FTP, or your WordPress dashboard with the wrong password, the server’s brute-force protection system will assume it’s an attack and block your IP. It can’t tell the difference between a hacker and someone who just forgot their password.
- Triggering Firewall Rules (mod_security): Web Application Firewalls (WAFs) like
mod_securityhave a set of rules that scan incoming traffic for malicious patterns. You might unknowingly trigger one of these rules by submitting a form with suspicious-looking code or even by using certain browser extensions. This can result in anip denied access error. - High Server Request Volume: Sending too many requests to the server in a short period can make you look like a bot. This can happen if you’re using a broken web scraper, a performance testing tool, or even a browser plugin that’s misbehaving. The firewall sees this high volume as a potential denial-of-service (DDoS) attack and blocks the IP to protect server resources.
- Spam or Malware-Triggered Protection: If your email account has been compromised and is sending out spam, the server will block your IP to stop the outflow. Similarly, if your computer is infected with malware that is trying to attack other sites, your IP might get flagged and added to IP reputation blacklists, leading to a block.
- Using Shared or Public Wi-Fi: When you use a public Wi-Fi network (like at a café or airport), you share an IP address with many other users. If someone else on that network engages in malicious activity, the shared IP can get blocked, affecting everyone connected to it.
How to Identify If Your IP Is Blocked
Before you can fix the problem, you need to confirm that your IP is indeed blocked by the server. Here are a few ways to do that:
- Check for Error Messages: The most obvious sign is an error message in your browser. It might explicitly say “Your IP has been blocked” or show a more generic “Connection Timed Out” or “This site can’t be reached” error, while the site works fine for others.
- Use Command-Line Tools: If you’re comfortable with the command line, you can use tools like
pingortracert(ortracerouteon Mac/Linux). Open your terminal or Command Prompt and typeping yourdomain.com. If it returns a “Request timed out” message instead of replies, your IP might be blocked.tracert yourdomain.comcan show you where the connection is failing; if it stops at your hosting server, a block is likely. - Check via the Skynethosting.net Client Portal: For our clients, we provide a tool directly in the Client Portal to check your IP status. It’s a quick and easy way to see if your IP is on the firewall’s blocklist without needing to contact support.
- Confirm with Your Hosting Support: When in doubt, the quickest way to get a definitive answer is to contact your hosting provider. Let them know you suspect your IP is blocked and provide them with your public IP address. They can check the server firewall logs and confirm the block.
How to Unblock Your IP Address (Step-by-Step)
If you’ve confirmed your IP is blocked, don’t worry. The process to unblock my IP address is usually straightforward. Here’s a general guide that works for most hosting environments.
Step 1: Find Your Public IP Address
First, you need to know what your public IP address is. The server blocked this specific address, so you’ll need it for the next steps. Simply go to a search engine and type “what is my IP address.” The search results will display it at the top of the page.
Step 2: Log in to Your Hosting Dashboard or Firewall Panel
Next, you’ll need to access your hosting control panel. This might be cPanel, WHM, Plesk, or a custom dashboard provided by your host. Since your current IP is blocked, you’ll likely need to use a different internet connection to log in, such as your phone’s mobile data or a VPN.
Step 3: Whitelist or Remove the IP from the Blocked List
Once logged in, navigate to the firewall or security section. If your host uses ConfigServer Security & Firewall (CSF), which is very common, you’ll look for its configuration page. Here, you can find a list of blocked IPs and an option to whitelist your IP. Adding your IP to the whitelist (or “allow” list) will prevent it from being blocked again. If you just want to remove the current block, you can search for your IP and remove it from the “deny” list.
Step 4: Clear Your Browser and DNS Cache
After removing the block, it’s a good idea to clear your browser’s cache. Sometimes, your browser holds on to the error page. You might also want to flush your local DNS cache to ensure your computer fetches the fresh, unblocked connection details. On Windows, you can do this by running ipconfig /flushdns in the Command Prompt.
Step 5: Contact Your Hosting Provider If Still Blocked
If you’ve followed these steps and are still unable to access your site, it’s time to reach out to support. There might be a more complex issue or another layer of security that you don’t have access to. Provide them with your IP address and the steps you’ve already taken.
How to Unblock Your IP in cPanel or WHM
For those managing servers with cPanel and WHM, the most common firewall is ConfigServer Security & Firewall (CSF). Here’s how you can manage IP blocks using this tool.
Using CSF (ConfigServer Security & Firewall)
CSF is a powerful firewall that includes Login Failure Daemon (LFD), a process that monitors for brute-force attempts and other suspicious activities. When LFD detects a threat, it automatically blocks the offending IP.
To unblock your IP, you’ll need to log into WHM (Web Host Manager).
- Log in to WHM: Use a different network connection if your main IP is blocked.
- Navigate to CSF: In WHM, go to the “Plugins” section and click on ConfigServer Security & Firewall.
- Search for Your IP: On the CSF main page, you can use the “Search for IP” feature. Enter your blocked IP address and click the button. The results will show you why and when your IP was blocked.
- Remove the Block: If your IP is found in the deny list, you’ll see an option to remove the block. Clicking this will instantly unblock your IP.
- Whitelist Your IP: To prevent future blocks, you can add your IP to the “Quick Allow” list on the same CSF page. This tells the firewall to always trust your IP address.
- Restart LFD: After making changes, especially to the allow or deny lists, it’s best to restart the LFD service. You can do this from the CSF dashboard by clicking “Restart csf+lfd.”
This process gives you full control over your whm cpanel ip block management and is a crucial skill for any server administrator.
How to Prevent IP Blocking in the Future
Resolving an IP block is one thing; preventing it is another. Here are some best practices to keep your IP off the blocklist.
- Avoid Repeated Login Failures: Be careful when entering your passwords. If you’re unsure, use the “Forgot Password” link instead of guessing multiple times.
- Use Secure Passwords and 2FA: Strong, unique passwords for cPanel, WordPress, and email accounts are your first line of defense. Better yet, enable Two-Factor Authentication (2FA) wherever possible. This adds a layer of security that makes brute-force attacks nearly impossible.
- Access cPanel and Email Safely: Avoid logging into sensitive accounts from untrusted public Wi-Fi networks. The shared IP could be blacklisted, or worse, your data could be intercepted.
- Use a Secure VPN or Dedicated IP: If you travel frequently or use different networks, a reputable VPN with a dedicated IP address can provide a consistent and trusted connection. This ensures your IP reputation remains clean.
Why Firewalls Temporarily Block IPs — Security Explained
Understanding the “why” behind IP blocking can help you appreciate its importance. Modern firewalls use sophisticated brute-force detection systems like LFD (for CSF) and Fail2Ban. These systems monitor server logs in real-time, looking for patterns that indicate an attack.
For example, if the system detects 10 failed login attempts from a single IP within 5 minutes, it will automatically issue a temporary block. This proactive blocking is essential for server protection. It stops attacks before they can succeed, preserving server resources and protecting sensitive data.
The block is temporary because the system knows that legitimate users sometimes make mistakes. A short block gives them a chance to realize their error without permanently locking them out. It strikes a balance between tight security and user convenience.
How Skynethosting.net Handles IP Blocking and Security
At Skynethosting.net, we prioritize robust security without compromising our clients’ user experience. Our approach to IP blocking is built on this philosophy.
All our VPS and reseller hosting plans come with real-time firewall protection powered by advanced systems. Our firewall automatically detects suspicious activity and applies safe temporary blocks to neutralize threats instantly. We understand that accidental blocks happen, which is why we’ve made the unblocking process as fast and simple as possible through our client portal and 24/7 support team.
Beyond basic firewalling, we provide advanced DDoS protection and constantly monitor IP reputation blacklists to ensure our network remains clean and secure. This comprehensive, multi-layered approach ensures your website is protected from all angles.
Frequently Asked Questions (FAQ)
How long does a temporary IP block last?
The duration of a temporary IP block can vary. It’s configured by the server administrator, but common lengths are 15 minutes, 30 minutes, or an hour. If you don’t know the duration, it’s often faster to manually unblock it or contact support.
Can I unblock my IP myself?
Yes, in most cases. If you have access to your hosting control panel (like cPanel/WHM) and the firewall configuration (like CSF), you can remove the block and whitelist your IP. If you’re on a shared hosting plan without this access, you’ll need to contact your provider.
Why does my IP keep getting blocked repeatedly?
If you find your IP is blocked frequently, there’s likely an underlying issue. It could be a browser extension making suspicious requests, a misconfigured email client, or even malware on your computer. Check your devices for malware and review any automated tools or scripts you are running.
What if my dynamic IP changes automatically?
Many internet service providers assign dynamic IP addresses that change periodically. If you have a dynamic IP, you might get a new one that is already on a blacklist due to the previous user’s actions. In this case, you can often get a new IP by simply restarting your router. If this is a recurring problem, consider using a VPN with a static IP.
Your Partner in Secure Hosting
Experiencing an IP block can be a moment of panic, but it’s really just a sign that your server’s security is working as intended. By understanding the common causes and knowing the steps to resolve it, you can quickly regain access and get back to work. Remember that these measures are in place to protect your valuable online assets from real threats.
A great hosting provider does more than just give you server space; they act as your partner in security. They provide the tools and support you need to keep your site safe while making it easy to resolve issues like accidental IP blocks.
Choose Skynethosting.net for reliable, secure hosting with expert firewall management. We’re here to help you every step of the way, ensuring your website stays online, fast, and secure.
FAQs
What does “Your IP has been temporarily blocked” mean?
What are the common reasons for an IP block?
How can you confirm if your IP is blocked?
What steps unblocking a temporarily blocked IP?
How do you unblock an IP in cPanel or WHM?
What can you do to prevent future IP blocks?
Avoid repeated incorrect logins, use unique and strong passwords with two-factor authentication, avoid public Wi-Fi for sensitive access, use secure VPNs or dedicated IP addresses, and review for malware or automated tools that could trigger security blocks.

