
How to Upgrade CentOS 7 to CloudLinux: A Step-by-Step Guide
TL;DR
- End of Life for CentOS 7: CentOS 7 is reaching end-of-life, meaning it will no longer receive updates or security patches, increasing vulnerability risks.
- Enhanced Stability and Security: CloudLinux offers resource isolation (LVE), user isolation (CageFS), and proactive patching that improve server stability and security—especially for shared hosting.
- Smooth Migration Process: Migration involves backing up data, updating CentOS 7, running the CloudLinux conversion script (cldeploy), then rebooting into the CloudLinux kernel.
- Post-Migration Configuration: After switching, verify CloudLinux features (LVE Manager, CageFS), resolve package conflicts, and optimize resource limits for improved performance and control.
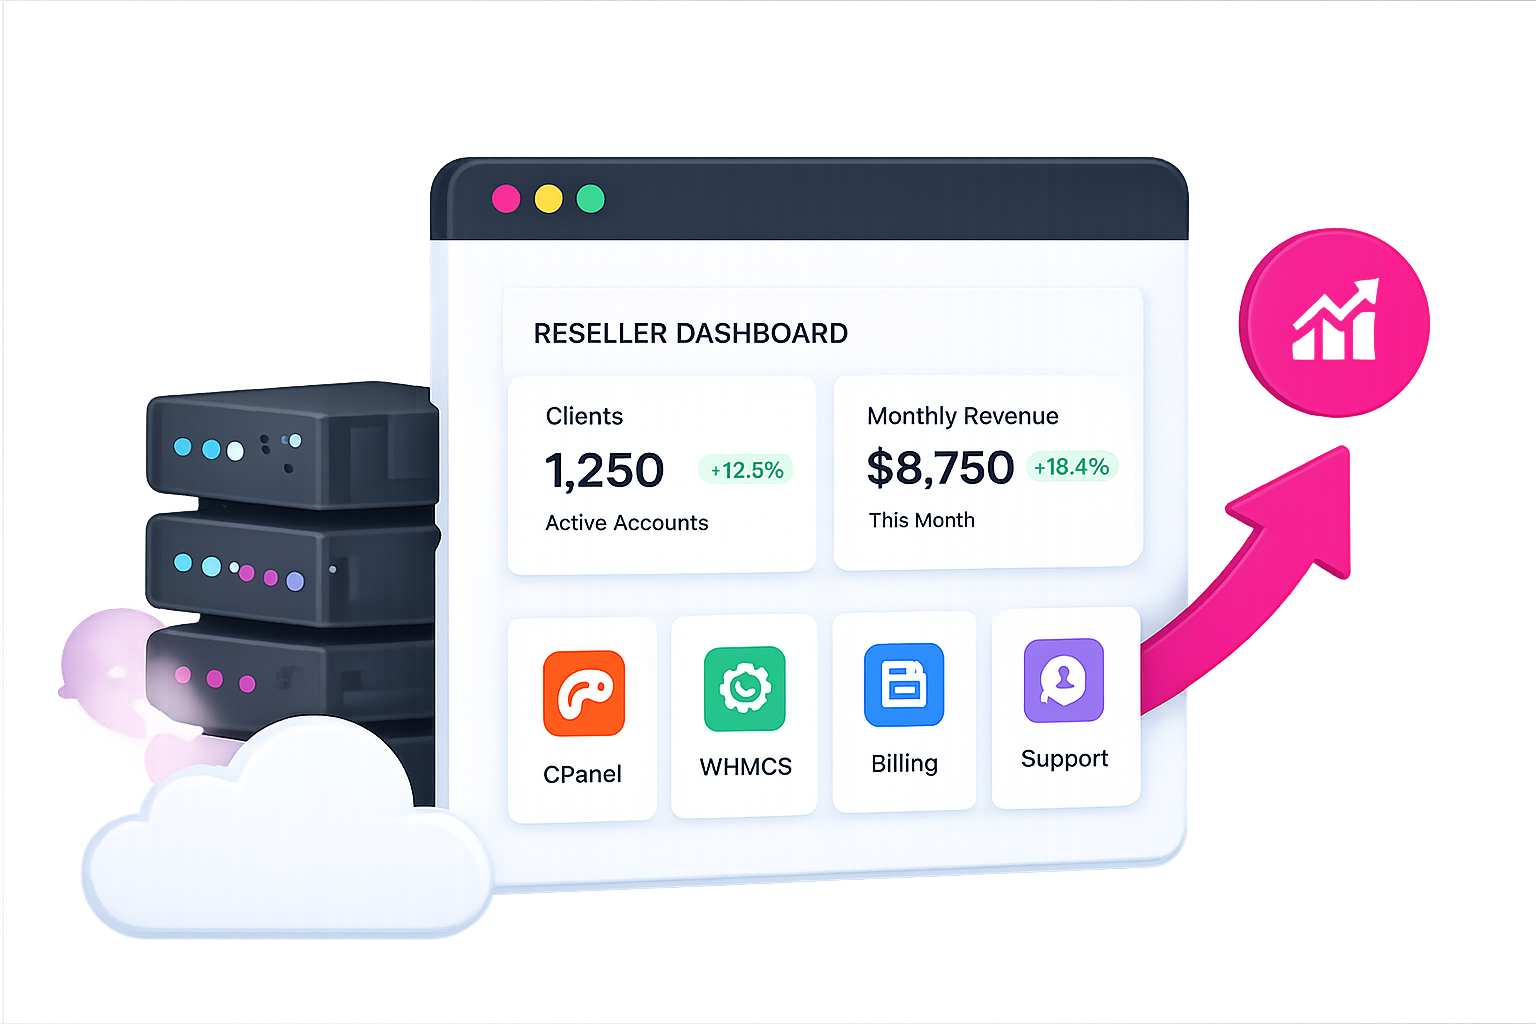
- Optimized for Hosting: CloudLinux integrates well with control panels like cPanel, providing tools for resource tracking, usage limits, and better multi-tenant management compared to CentOS.
CentOS 7 has been a popular choice for system administrators and web hosting providers for years. However, with its end of life (EOL) nearing, it’s time to consider a more robust and future-ready solution. CloudLinux is one such option that brings enhanced stability, security, and features tailored for shared hosting environments.
At Skynethosting.net, with over 20 years of expertise in hosting, we strive to provide the best solutions for our clients through dedicated servers, VPS hosting, and more. This guide will take you through a simple step-by-step process to migrate from CentOS 7 to CloudLinux efficiently.
Why Upgrade from CentOS 7 to CloudLinux?
When considering an upgrade, it’s essential to understand why CloudLinux outshines CentOS for many use cases.

1. End of Life (EOL) for CentOS 7
CentOS 7 will soon reach its end of life, meaning it will no longer receive regular updates or security patches. This makes it increasingly vulnerable to exploits and bugs, which could compromise your server. Migrating to CloudLinux ensures your system remains updated and secure.
2. Enhanced Security and Stability
CloudLinux introduces resource isolation through technologies like LVE (Lightweight Virtual Environment) and CageFS. These features protect your server by isolating users and preventing a single user’s actions from affecting others, which is crucial, especially in shared hosting setups.
3. Advanced Features and Tools
CloudLinux offers a range of features tailored for hosting environments, including:
- LVE Manager for resource allocation.
- CageFS for file system isolation.
- Mod HostingLimits for cPanel-based servers.
With these features, CloudLinux outperforms standard CentOS in terms of performance and ease of use for shared hosting.
Prerequisites and Preparation
Before beginning the migration, you need to prepare your system for the conversion process.
Backups Are Essential
Before making any major changes to your server, creating a complete backup is crucial. A full backup ensures that your data is safe and can be restored if something goes wrong during the process.
Use tools like rsync, cPanel backup utilities, or tar to create a comprehensive copy of your server files, databases, and configurations.
Store the backup on a separate storage device or in a remote location to prevent data loss in case of server failure. For extra safety, test your backup to ensure it can be restored without issues. Regular backups should also be part of your routine server management to guard against unexpected problems.
Check System Requirements
Before you start the CloudLinux installation, verify that your server meets the necessary requirements. CloudLinux requires:
- A 64-bit architecture (32-bit systems are not supported).
- At least 1GB of RAM, though 2GB or more is recommended for optimal performance.
- 10GB of free disk space, with additional space depending on your server’s current usage.
- A compatible operating system, such as CentOS or RHEL, since CloudLinux is designed to be installed on these distributions.
It’s also a good idea to check the documentation for any additional dependencies or kernel requirements to avoid issues during installation.
Obtain a CloudLinux License
To proceed with the migration to CloudLinux, you’ll need a valid license. CloudLinux offers two main types of licenses:
- License Key: A unique key that you can enter during installation.
- IP-based License: Tied directly to your server’s IP address, making it easier to manage.
You can purchase licenses directly from CloudLinux’s website or through an authorized reseller. Additionally, CloudLinux offers a free trial period—an excellent option if you want to test the platform before committing. Keep your license information handy, as you’ll need it during the setup process.
Confirm Root/Sudo Access
The migration process requires root access or sudo privileges to execute the necessary commands on your server. Without administrative access, you won’t be able to install or configure CloudLinux.
If you don’t have root access, contact your hosting provider to grant temporary permissions or perform the migration on your behalf.
To confirm you have the required access, log in to your server and run elevated commands like sudo -v or whoami to check if you’re logged in as root.
This step is vital for a smooth migration, as insufficient permissions can lead to installation errors or incomplete configuration.
Plan for Downtime
Migrating to CloudLinux may require a brief period of downtime, depending on your server’s current setup and workload. Inform your users or clients ahead of time and schedule the migration during low-traffic hours to minimize disruptions.
If possible, perform the migration on a secondary server first to test the process before applying it to your production environment.
Post-Migration Checks
After installing CloudLinux, it’s essential to verify that your server is functioning as expected. Check key services like web servers, databases, and email systems to ensure they are operational.
Run the cldiag command to perform a diagnostic check and identify any potential issues. Additionally, review resource limits for each account to ensure they align with your intended server configuration.
By following these steps, you can ensure a smooth and successful migration to CloudLinux while maintaining server stability and minimizing risks.
How to Migrate from CentOS 7 to CloudLinux
Once you’re prepared, follow these steps to migrate your CentOS 7 server to CloudLinux seamlessly.
Step 1: Prepare and Backup Your System
Before making any changes, it is critical to create a complete backup of your server. This ensures you can restore your system in case anything goes wrong during the migration.
- Backup all important data and configurations:
Use your preferred backup tool or run a manual backup command:
sudo tar -czvf centos7-backup.tar.gz /etc /var /homeStore this backup in a secure, off-server location.
- Check system requirements:
Ensure you have:- A CentOS 7 server with root or sudo access
- A valid CloudLinux license key or an IP-based license
- Network connectivity for downloading packages
Step 2: Update Your CentOS 7 System
A fully updated system minimizes compatibility issues during migration.
- Update all packages:
sudo yum update -y
sudo yum upgrade -y
This brings your system to the latest CentOS 7 release, ensuring all dependencies are current.
Step 3: Install Prerequisites
- Install wget if not already present:
The migration script requireswgetto download files.
udo yum install -y wgetStep 4: Download the CloudLinux OS Converter Script
CloudLinux provides an official script, cldeploy, to automate the conversion process.
- Download the script:
https://repo.cloudlinux.com/cloudlinux/sources/cln/cldeployThis script detects your environment and prepares your system for CloudLinux.
Step 5: Run the CloudLinux Converter Script
Initiate the migration using your license key or opt for IP-based activation.
- With a license key:text
sudo sh cldeploy -k YOUR_CLOUDLINUX_LICENSE_KEYReplace YOUR_CLOUDLINUX_LICENSE_KEY with your actual key.
- With an IP-based license:textsudo sh cldeploy -i
Step 6: Reboot into the CloudLinux Kernel
After the conversion script completes, reboot your server to activate the CloudLinux kernel.
sudo rebootDuring boot, ensure the kernel with “lve” or “cloudlinux” in its name is selected. This is essential for CloudLinux features to function.
Step 7: Verify the Migration
After rebooting, confirm that your server is now running CloudLinux:
- Check the kernel version:
uname -rThe output should include “cloudlinux” or “lve”.
- Verify CloudLinux tools:
Look for utilities likelvectl,cldetect, or the presence of LVE Manager and CageFS (especially if using cPanel/WHM). - Review system logs:
Check/var/log/cl_convert.logand other logs for any errors or warnings during the migration.
Step 8: Troubleshooting and Post-Migration Checks
- If the CloudLinux kernel does not load:
- Review your bootloader configuration.
- Consult the CloudLinux knowledge base or support if issues persist.
- SELinux compatibility:
SELinux is not supported on CloudLinux OS 6 and 7. Disable SELinux before migration to avoid issues. - Third-party packages:
Some custom or third-party packages may need to be reinstalled or updated after migration. - Hybridization:
On AMD Zen-family processors, CloudLinux may automatically enable “hybridization” for optimal performance. This step is handled by the script and usually requires no user intervention.
Step 9: Activate and Configure CloudLinux Features
- License activation:
Ensure your CloudLinux license is active to receive updates. - Enable and configure key features:
- LVE Manager for resource limits
- CageFS for user isolation
- SecureLinks and other security enhancements
- Review hosting control panel integration:
If you use cPanel, Plesk, or DirectAdmin, verify that CloudLinux plugins (like LVE Manager) are installed and working.
Post-Migration Tasks: Finalizing and Testing Your CloudLinux Server
After successfully migrating from CentOS 7 to CloudLinux, it’s crucial to verify your server’s health, resolve any lingering issues, and optimize your environment for maximum benefit.
1. Verify Active CloudLinux Features
- Check LVE, CageFS, and LVE Manager:
Ensure that essential CloudLinux features are running as expected.- For cPanel servers, access LVE Manager via WHM to allocate and monitor resource limits per user.
- For command-line checks, use:
lvectl listThis command lists all user limits and verifies that LVE is functioning.
- CageFS Verification:
Confirm CageFS is enabled and mounted for all users:
cagefsctl --list-enabled2. Resolve Package Conflicts and Compatibility Issues
- Review Migration Logs:
Inspect the main conversion log for errors or warnings:
cat /var/log/cloudlinux/cldeploy.log- Address any package conflicts or failed installations noted in the log.
- Update or Reinstall Packages:
If third-party or custom packages are not working as expected, update or reinstall them using:
yum update <package-name>
yum reinstall <package-name>- This ensures compatibility with CloudLinux’s environment.
3. Optimize Server Settings
- Enable Mod HostingLimits (for cPanel):
Take advantage of CloudLinux’s resource management by enabling Mod HostingLimits, which allows you to fine-tune user-level restrictions for CPU, memory, and concurrent connections. - Tune LVE and CageFS:
Adjust resource limits and isolation settings to match your hosting needs. For example, set per-user CPU or memory limits via LVE Manager or command line:
lvectl set-limits --cpu=50 --pmem=1G USERNAME4. Troubleshooting Common Issues
- Conversion Errors:
If the migration process reported errors, consult the detailed log:
/var/log/cloudlinux/cldeploy.log- This log provides specific error messages and guidance for resolution.
- Kernel Boot Issues:
If the server fails to boot into the CloudLinux kernel:- Boot into rescue or recovery mode.
- Check and reconfigure the bootloader if necessary.
- Ensure the correct kernel is set as default in
/etc/default/gruband regenerate the GRUB config.
- SELinux Compatibility:
CloudLinux does not support SELinux on versions 6 and 7. Disable SELinux to avoid conflicts:
setenforce 0- For a permanent fix, set
SELINUX=disabledin/etc/selinux/configand reboot.
- CloudLinux Repositories Unavailable:
If you encounter repository errors, manually register your license:
This restores access to CloudLinux repositories.- For activation key:text
rhnreg_ks --activationkey=<key>- For IP-based license:text
clnreg_ks --force5. Test and Validate Server Functionality
- Check Website and Application Functionality:
Ensure all hosted sites and applications are running smoothly post-migration. Pay special attention to PHP versions, libraries, and DNS/IP configurations, as these may change during migration.
- Monitor Resource Usage:
Use LVE Manager or command-line tools to monitor user loads and resource consumption:text
lveinfo -u USER --period=1d --time-unit=1h- This helps identify if any users are exceeding their limits and allows for proactive adjustments.
6. Backup and Document the New Configuration
- Backup CloudLinux Settings:
After confirming everything is working, create a backup of your new CloudLinux configuration:- LVE limits:
Copy/etc/container/ve.cfgand apply withlvectl apply allif needed. - CageFS configs (if customized):
Backup/etc/cagefs/cagefs.mpand/etc/cagefs/conf.d, then update with:
- LVE limits:
cagefsctl --force-update && cagefsctl --remount-all7. Seek Support if Needed
- CloudLinux Support Portal:
If you encounter unresolved issues, visit the [CloudLinux Support Portal] or contact your CloudLinux distributor for expert assistance
Why Choose CloudLinux for Your Server?
Switching to CloudLinux isn’t just about addressing CentOS 7’s EOL; it’s about upgrading your entire system to a more secure, efficient, and optimized solution. Designed specifically for shared hosting environments, CloudLinux offers a range of features that make it the superior choice over CentOS. Here’s why:
- Enhanced Performance: CloudLinux uses LVE (Lightweight Virtual Environment) technology to allocate and isolate server resources, ensuring no single account can monopolize resources. This means improved server response times and a smoother experience for all users, even during traffic spikes.
- Advanced Security: With CageFS, user accounts are completely isolated from each other, protecting sensitive data and reducing the risk of breaches. The system also includes hardened kernels and proactive patching, ensuring your platform stays secure against vulnerabilities.
- Optimized for Hosting: Whether using cPanel, Plesk, or other popular control panels, CloudLinux integrates seamlessly. It enhances usability for admins with tools like PHP Selector and MySQL Governor, allowing for more customization and better performance monitoring.
By choosing CloudLinux, you’re not just ensuring compatibility after CentOS 7’s end-of-life—you’re investing in a system built to elevate your hosting environment to the next level.
Make the Switch Today
Migrating from CentOS 7 to CloudLinux is a straightforward process, and the benefits are well worth the effort. At Skynethosting.net, we’ve been delivering top-tier hosting solutions for over 23 years, helping businesses enhance performance, security, and scalability.
Looking for powerful and reliable hosting solutions? Whether it’s VPS hosting, reseller hosting, or dedicated hosting, we’ve got you covered! Skynethosting.net offers cutting-edge technology and unbeatable performance to take your hosting to the next level.
Need help with migration? Our expert 24/7 customer support team is here to assist you every step of the way—hassle-free and stress-free.
Don’t settle for less. Upgrade your server today and unlock the true power of CloudLinux with Skynethosting.net!
FAQs
Why should you upgrade from CentOS 7 to CloudLinux?
CentOS 7 is reaching end-of-life, meaning security updates and patches will stop. Migrating to CloudLinux provides continued support, enhanced stability, proactive patching, and superior resource isolation, keeping your hosting environment secure and optimized after CentOS 7 support ends.
What are the main benefits of CloudLinux compared to CentOS 7?
CloudLinux offers LVE (Lightweight Virtual Environment) for resource isolation, CageFS for secure user isolation, better control panel integration, and advanced security. These features help protect and optimize shared hosting servers much better than standard CentOS 7 installations.
What should you do before migrating to CloudLinux?
Always back up all server data, databases, and configurations before starting the migration. Verify system requirements (64-bit architecture, 1GB+ RAM, 10GB free disk space), obtain a valid CloudLinux license, and ensure you have root or sudo access for a smooth upgrade.
What is the general process for upgrading CentOS 7 to CloudLinux?
How do you verify a successful CloudLinux migration?
Check that the server is running a CloudLinux kernel, confirm the presence of features like LVE Manager and CageFS, review migration logs for errors, test web services, and ensure all user limits and software packages function correctly on the new environment.
What are common post-migration tasks and troubleshooting steps?
After migration, update or reinstall incompatible packages, configure LVE limits, enable CageFS, resolve any bootloader or repository issues, disable SELinux, and monitor logs and service status to ensure stability and fix any reported errors.
Why is CloudLinux considered ideal for shared hosting?
CloudLinux brings significant advantages, including per-user resource control, improved server stability, better security, seamless cPanel integration, PHP Selector, and MySQL Governor, all of which create an optimized, secure, and high-performing environment for multi-tenant shared hosting servers.