
How to Configure RAID Storage on a Dedicated Server for Redundancy and Speed
Configuring RAID on a dedicated server means picking a RAID level that matches your workload, usually RAID 1 or RAID 10 for anything running a database or holding data you cannot afford to lose, then setting up the array through your hardware RAID controller or a software tool before the operating system is installed, and verifying the array is healthy before anything goes into production.
The RAID level you choose is the single decision that determines whether your setup actually protects data or simply spreads it across more drives that can now fail independently. Get that choice wrong and the rest of the configuration does not matter.
This guide walks through the RAID levels that actually matter for a business server, the practical steps for setting one up, the mistakes that quietly undermine redundancy even when the configuration looks correct, and what a complete storage strategy needs beyond RAID alone.
What Is RAID Storage and Why Is It Important for Dedicated Servers?
RAID, short for Redundant Array of Independent Disks, combines multiple physical drives into a single logical storage unit so a server can gain redundancy, performance, or both, depending on which RAID level is configured. It matters on a dedicated server specifically because a single failed drive on a server with no redundancy can mean total data loss with no warning.
Understanding how RAID combines multiple drives
A RAID controller, whether hardware or software, presents multiple physical drives to the operating system as one logical volume. How data is actually written across those drives, striped for speed, mirrored for redundancy, or some combination of both, depends entirely on the RAID level chosen.
This abstraction is what makes RAID useful in the first place. The operating system and applications see one drive letter or mount point, with the complexity of managing multiple physical disks handled entirely by the controller underneath.
This also means a RAID array should be planned before drives fill up with data, not retrofitted onto an existing single-drive server as an afterthought. Converting an existing volume into a RAID array typically requires rebuilding it from scratch, which is a very different task than configuring RAID on fresh hardware from day one.
The difference between redundancy and performance
Redundancy means the array can survive one or more drive failures without losing data. Performance means data reads and writes faster than a single drive could manage alone. Some RAID levels deliver mostly one, some deliver a genuine mix of both, and none deliver maximum amounts of each simultaneously.
Confusing the two is the most common conceptual mistake in RAID planning. RAID 0 delivers real performance gains and zero redundancy. Assuming any RAID configuration automatically protects your data is how businesses end up surprised when a drive fails.
A useful mental checklist before choosing a level: ask what happens to the business if this server loses a drive tomorrow. If the honest answer is real data loss and real downtime, redundancy needs to outrank raw speed in the decision.
When RAID makes sense for business workloads
Any server holding a database, processing customer orders, or running an application the business depends on daily benefits from RAID redundancy. A purely disposable test environment or a server whose entire contents are rebuilt from a deployment script in minutes needs it far less.
Which RAID Level Should You Choose for Your Dedicated Server?
Choose RAID 0 only for pure performance workloads with no need for redundancy, RAID 1 for simple, effective mirroring on two drives, RAID 5 or 6 for balancing capacity efficiency with fault tolerance across more drives, and RAID 10 for the strongest combination of speed and redundancy when the budget allows it.
RAID 0 for maximum performance
RAID 0 stripes data across two or more drives with no redundancy at all, which delivers the fastest possible read and write speeds for a given number of drives. The tradeoff is absolute: losing any single drive in the array destroys the entire volume’s data, not just the portion on that drive.
RAID 0 has a real, narrow use case: temporary scratch storage, video rendering caches, or workloads where the data is fully disposable and speed matters more than anything else. It has no place under a production database or any dataset you would be upset to lose.
The math on failure risk gets worse, not better, as more drives join a RAID 0 array. A four-drive stripe has roughly four times the failure risk of a single drive, since losing any one of the four takes down the entire volume.
RAID 1 for data redundancy
RAID 1 mirrors data identically across two drives. Either drive can fail completely and the server keeps running on the surviving one, with no data loss. Usable capacity equals one drive’s worth of space, since the second drive is entirely a redundant copy.
This is the simplest, most predictable RAID level to configure and the easiest to reason about when something goes wrong. For a small business server that needs real redundancy without the complexity of parity calculations, RAID 1 is often the right, unglamorous answer.
The main limitation is capacity efficiency: two 2 terabyte drives in RAID 1 give you 2 terabytes of usable space, not 4. For a workload that needs redundancy but also needs to grow its storage footprint significantly, that capacity cost is worth weighing against RAID 5 or 6 before committing.
RAID 5 and RAID 6 for balanced capacity and protection
RAID 5 stripes data across three or more drives with a single parity block distributed across the array, surviving the loss of any one drive while using less total capacity for redundancy than mirroring would. RAID 6 adds a second parity block across four or more drives, surviving two simultaneous drive failures at the cost of more capacity given up to parity.
Both carry a real write performance penalty compared to RAID 1 or 10, since every write requires calculating and writing parity data alongside the actual data. RAID 6 is generally the safer choice for larger arrays, since the odds of a second drive failing during a RAID 5 rebuild are not as remote as most administrators assume.
Rebuild time matters more than most people expect when weighing RAID 5 against RAID 6. Larger, higher-capacity drives take longer to rebuild after a failure, and a RAID 5 array sitting in a degraded, unprotected state for many hours during that rebuild is exactly the window where a second failure turns into real data loss.
RAID 10 for high-performance business applications
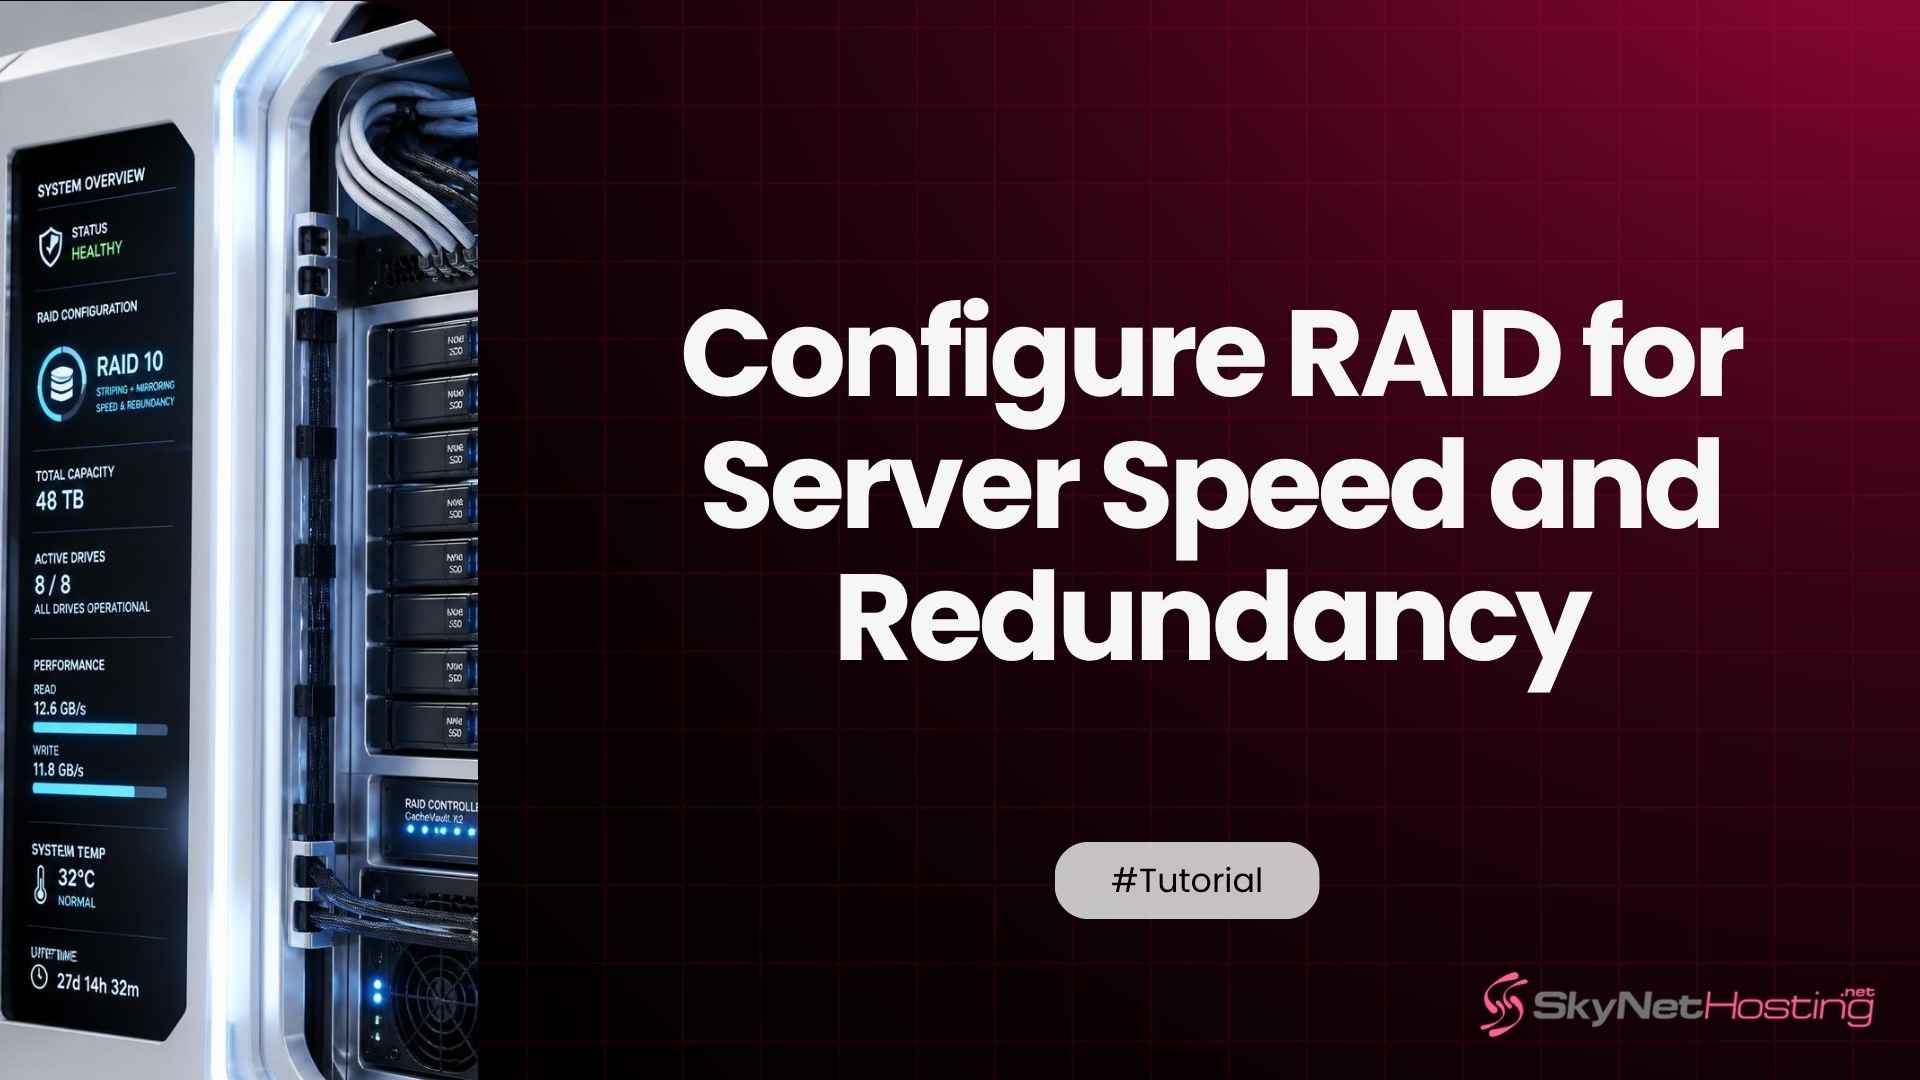
RAID 10 combines mirroring and striping: drives are mirrored in pairs, and those mirrored pairs are then striped together. It requires a minimum of four drives, uses only half the total capacity for actual data, and delivers both strong redundancy and strong performance simultaneously, without the write penalty RAID 5 and 6 carry.
For a business running a busy database or any workload where both uptime and speed genuinely matter, RAID 10 is usually the right answer despite the higher hardware cost. The capacity tradeoff is the price of getting both priorities at once rather than compromising on either.
RAID 10 also rebuilds faster and more safely than RAID 5 or 6 after a drive failure, since rebuilding a mirror only requires copying data from its surviving pair rather than recalculating parity across every remaining drive in the array. That faster, simpler rebuild is a real advantage during exactly the moment an array is most vulnerable.
How Do You Configure RAID Storage on a Dedicated Server?
Configuring RAID generally follows four stages: preparing matched, compatible drives, building the array through a hardware RAID controller or software RAID tool before the operating system goes on, initializing and confirming the array reports healthy, and load testing storage performance before anything production-critical touches it.
Preparing compatible storage drives
Use drives of the same capacity, and ideally the same model and performance tier, for any array. Mismatched drives get treated as if every drive matches the smallest and slowest one present, which quietly wastes both capacity and performance on the better drives in the array.
Order drives from the same batch when possible for a redundant array, not because it improves performance, but because drives manufactured together and put into service on the same day tend to fail in roughly the same timeframe, which is worth planning around rather than treating as a coincidence.
Configuring RAID through a hardware controller or software tools
A hardware RAID controller handles parity calculations on dedicated silicon, often backed by its own cache, and is configured through the controller’s own boot-time utility before the operating system is installed. Software RAID, handled by tools like mdadm on Linux, uses the server’s own CPU for the same work and is configured after the OS is present.
Hardware RAID with NVMe storage generally delivers the most consistent performance for a demanding production workload, since parity calculations never compete with the application itself for CPU cycles.
Software RAID is not automatically the inferior choice, though. It costs nothing extra in hardware, and modern CPUs handle parity calculations with far less overhead than they did years ago, which makes software RAID a genuinely reasonable option for workloads that are not maxing out CPU already.
Initializing and verifying the RAID array
A new array typically needs to initialize before it reaches full performance, either a fast foreground initialization or a slower background one that lets the server come online sooner while the process finishes. Confirm the array reports a healthy, optimal status in the controller utility or through a command like a RAID status check before trusting it with real data.
Document the exact array configuration once it is confirmed healthy, RAID level, drive count, controller model, and initialization date. This single page of notes saves real time later if the array ever needs to be rebuilt or if a new team member needs to understand the setup without guessing.
Testing storage performance before production deployment
Run a basic read and write benchmark against the new array before deploying anything onto it. This catches a misconfigured array, a drive that is technically present but underperforming, or a controller setting left at a suboptimal default, while there is still nothing at risk on the volume.
Simulate a drive failure in a test environment before going live if the hardware and time allow it. Watching a rebuild happen once, deliberately and on your own schedule, is far less stressful than experiencing the first one during an actual production emergency with no prior reference point.
What Common RAID Configuration Mistakes Should You Avoid?
The four mistakes that cause the most damage are treating RAID as a substitute for backups, mixing drives of different sizes or speeds in the same array, ignoring the monitoring and alerts that would catch a failing drive early, and choosing a RAID level that does not actually match the workload sitting on top of it.
Assuming RAID replaces regular backups
RAID protects against drive failure. It does nothing to protect against accidental deletion, ransomware, application-level corruption, or a mistake that gets written and mirrored across every drive in the array just as faithfully as the correct data was. RAID and backups solve different problems, and only one of them protects against most of the ways data actually gets lost in practice.
If your recovery plan for a corrupted database is restoring from the RAID array itself, that plan does not actually work, since the corruption is already mirrored perfectly across every drive. A real backup, stored separately, is the only thing that recovers from this scenario.
Mixing different drive sizes or performance levels
An array built from drives of different sizes gets capped to the smallest drive’s size multiplied across the array, wasting the extra space on larger drives entirely. Mixing a fast NVMe drive with a slower SATA drive in the same array drags the whole array down to the slower drive’s performance ceiling.
This mistake often happens gradually rather than all at once, when a failed drive gets replaced with whatever is on hand rather than an exact match. Keep a spare drive of the correct matching specification on hand specifically to avoid this scramble during an actual failure.
Ignoring RAID monitoring and rebuild alerts
A RAID array running in a degraded state after one drive fails still works, which is exactly why it is dangerous to ignore. A degraded array has zero redundancy left in most configurations, and a second drive failure during that window means real data loss. Set up alerts that reach an actual person, not just a log file nobody checks.
Test the alert path itself, not just the monitoring configuration. An alert routed to an email address nobody reads regularly provides the same practical protection as no alert at all, which is to say none.
Choosing a RAID level that doesn’t match your workload
RAID 0 under a production database, RAID 5 under a write-heavy application that would have benefited from RAID 10, or RAID 1’s limited capacity under a workload that needed more room to grow are all mismatches between the RAID level chosen and what actually sits on top of it. Match the level to the read and write pattern of the real workload, not to whichever configuration was fastest to set up.
When genuinely unsure which level fits, default toward more redundancy rather than less. The cost of over-protecting a workload that turned out not to need it is far smaller than the cost of losing data a business actually depended on.
How Does SkyNetHosting.Net Inc. Support Businesses That Need High-Performance Dedicated Storage?
SkyNetHosting supports RAID-backed storage needs through dedicated server hardware built around NVMe performance, configuration flexibility across different workload types, infrastructure treated as business-critical rather than an afterthought, and a support team that helps size storage correctly from the outset.
Dedicated servers with enterprise-grade storage options
Our USA Dedicated Servers run on Intel Dual Xeon hardware with NVMe storage, giving a RAID array the fast underlying drives that make RAID 10 or RAID 6 genuinely performant rather than bottlenecked by the storage hardware underneath the configuration.
Ask specifically about RAID configuration options and hardware controller availability during the buying conversation, not after the server is already provisioned. It is a much simpler conversation to have before hardware is racked than after.
Flexible hardware configurations for different workloads
A business unsure whether it needs the full redundancy of a dedicated server’s RAID array yet can start with our NVMe VPS or USA VPS options and move up once the workload and data sensitivity actually justify dedicated RAID storage.
Reliable infrastructure for business-critical applications
A database or application a business depends on daily deserves storage that is reliable at every layer, not just at the RAID configuration. Pairing solid RAID choices with a SSL reseller program and proper security practices protects the data the array is storing, not just the drives it sits on.
Scalable hosting solutions that grow with your business
Check our compare reseller features page for the uptime, backup, and support baselines worth expecting from any serious storage infrastructure, whether you are running a single dedicated server or scaling toward several.
How Can You Build a Reliable Storage Strategy Beyond RAID?
A complete storage strategy layers automated backups on top of RAID redundancy, adds proactive monitoring that catches problems before they become outages, and includes a real disaster recovery plan for the failure scenarios RAID alone cannot cover, like an entire server or facility going offline.
Combining RAID with automated backups
Automate backups to a separate location entirely from the RAID array itself, ideally off the same physical server. Tying backup scheduling to free WHMCS automation removes the risk of a manual backup step getting skipped during a busy week, which is exactly when it tends to get skipped.
Test a restore from that backup periodically, not just the backup job itself. A backup that has never been restored is an untested assumption, and the only way to know it actually works is to prove it on a schedule, not to wait until an emergency forces the question.
Monitoring storage health proactively
Drive health monitoring, checking predictive failure indicators before a drive actually fails outright, catches problems while there is still time to replace a drive on a planned schedule rather than during an emergency rebuild under production load.
Review these health indicators on a regular schedule rather than only after an alert fires. A drive showing early warning signs weeks before an alert threshold triggers gives far more room to plan a calm replacement than waiting for the automated warning alone.
Planning for disaster recovery and future expansion
RAID protects against a drive failure. It does not protect against a facility-level event taking an entire server offline. Spreading critical backups or failover capacity across our multi-location hosting footprint, or layering CloudFlare in front of a site for basic continuity, extends protection beyond what any single server’s RAID configuration can offer alone.
If your current server has no real redundancy, or you are provisioning new infrastructure and want the RAID level matched correctly to your workload from day one, our End User Support team can help configure storage around what your business actually runs, not a generic default that may not fit.
A RAID array configured correctly on day one, matched to the actual workload it will carry, is one of the quieter infrastructure decisions that pays off for years without ever needing a second thought, right up until the day a drive fails and it turns out to have been the right call all along.
